

This dough is the no-knead artisan bread dough that was really popular about 10 years ago. It is really simple and fast to assemble. This recipe and technique has never failed me. The crust always turns out with a great yeasty flavor and aroma, along with a perfect crunchy on the outside, and chewy on the inside texture.
 |
| Let's get started! |
Dough Recipe
3 cups warm water
1 1/2 TBS. yeast
1 1/2 TBS. course or kosher salt
6 1/2 cups unbleached flour
In a large bowl (at least 4 quarts) combine all the ingredients. Stir until a shaggy dough forms, 5 minutes is all it should take.
 |
| Shaggy dough. Stop stirring. |
Cover loosely and rest at room temperature for 2-5 hours.
 |
| After the rest you have a bowlful of sticky dough. |
 |
| Preheat oven and iron skillet. |
Sprinkle flour over the dough. With floured hands pinch off a lump of dough, about the size of a grapefruit. Working quickly, tuck under the raw edges and plop your lump of dough on a little pile of flour.
 |
| Lump of dough on pile of flour. |
This dough is almost too wet to use a rolling pin to shape. After the dough has been refrigerated it is much easier to manage. Once the dough is chilled you can probably use a rolling pin.
I use my hands to shape the dough (most of the time) in this manner:
Flatten the lump into a disc. Lift the dough by the edge let the weight of the disc stretch the dough. Rotate the disc so that it starts to make a circle. Lay it down on the flour frequently to solve any stickiness. Continue to stretch and manipulate the dough until you end up with the desired shape.
 |
| It is really easy to stretch a hole in the dough, so just be warned. |
Transfer your dough to a pizza pan and add toppings.
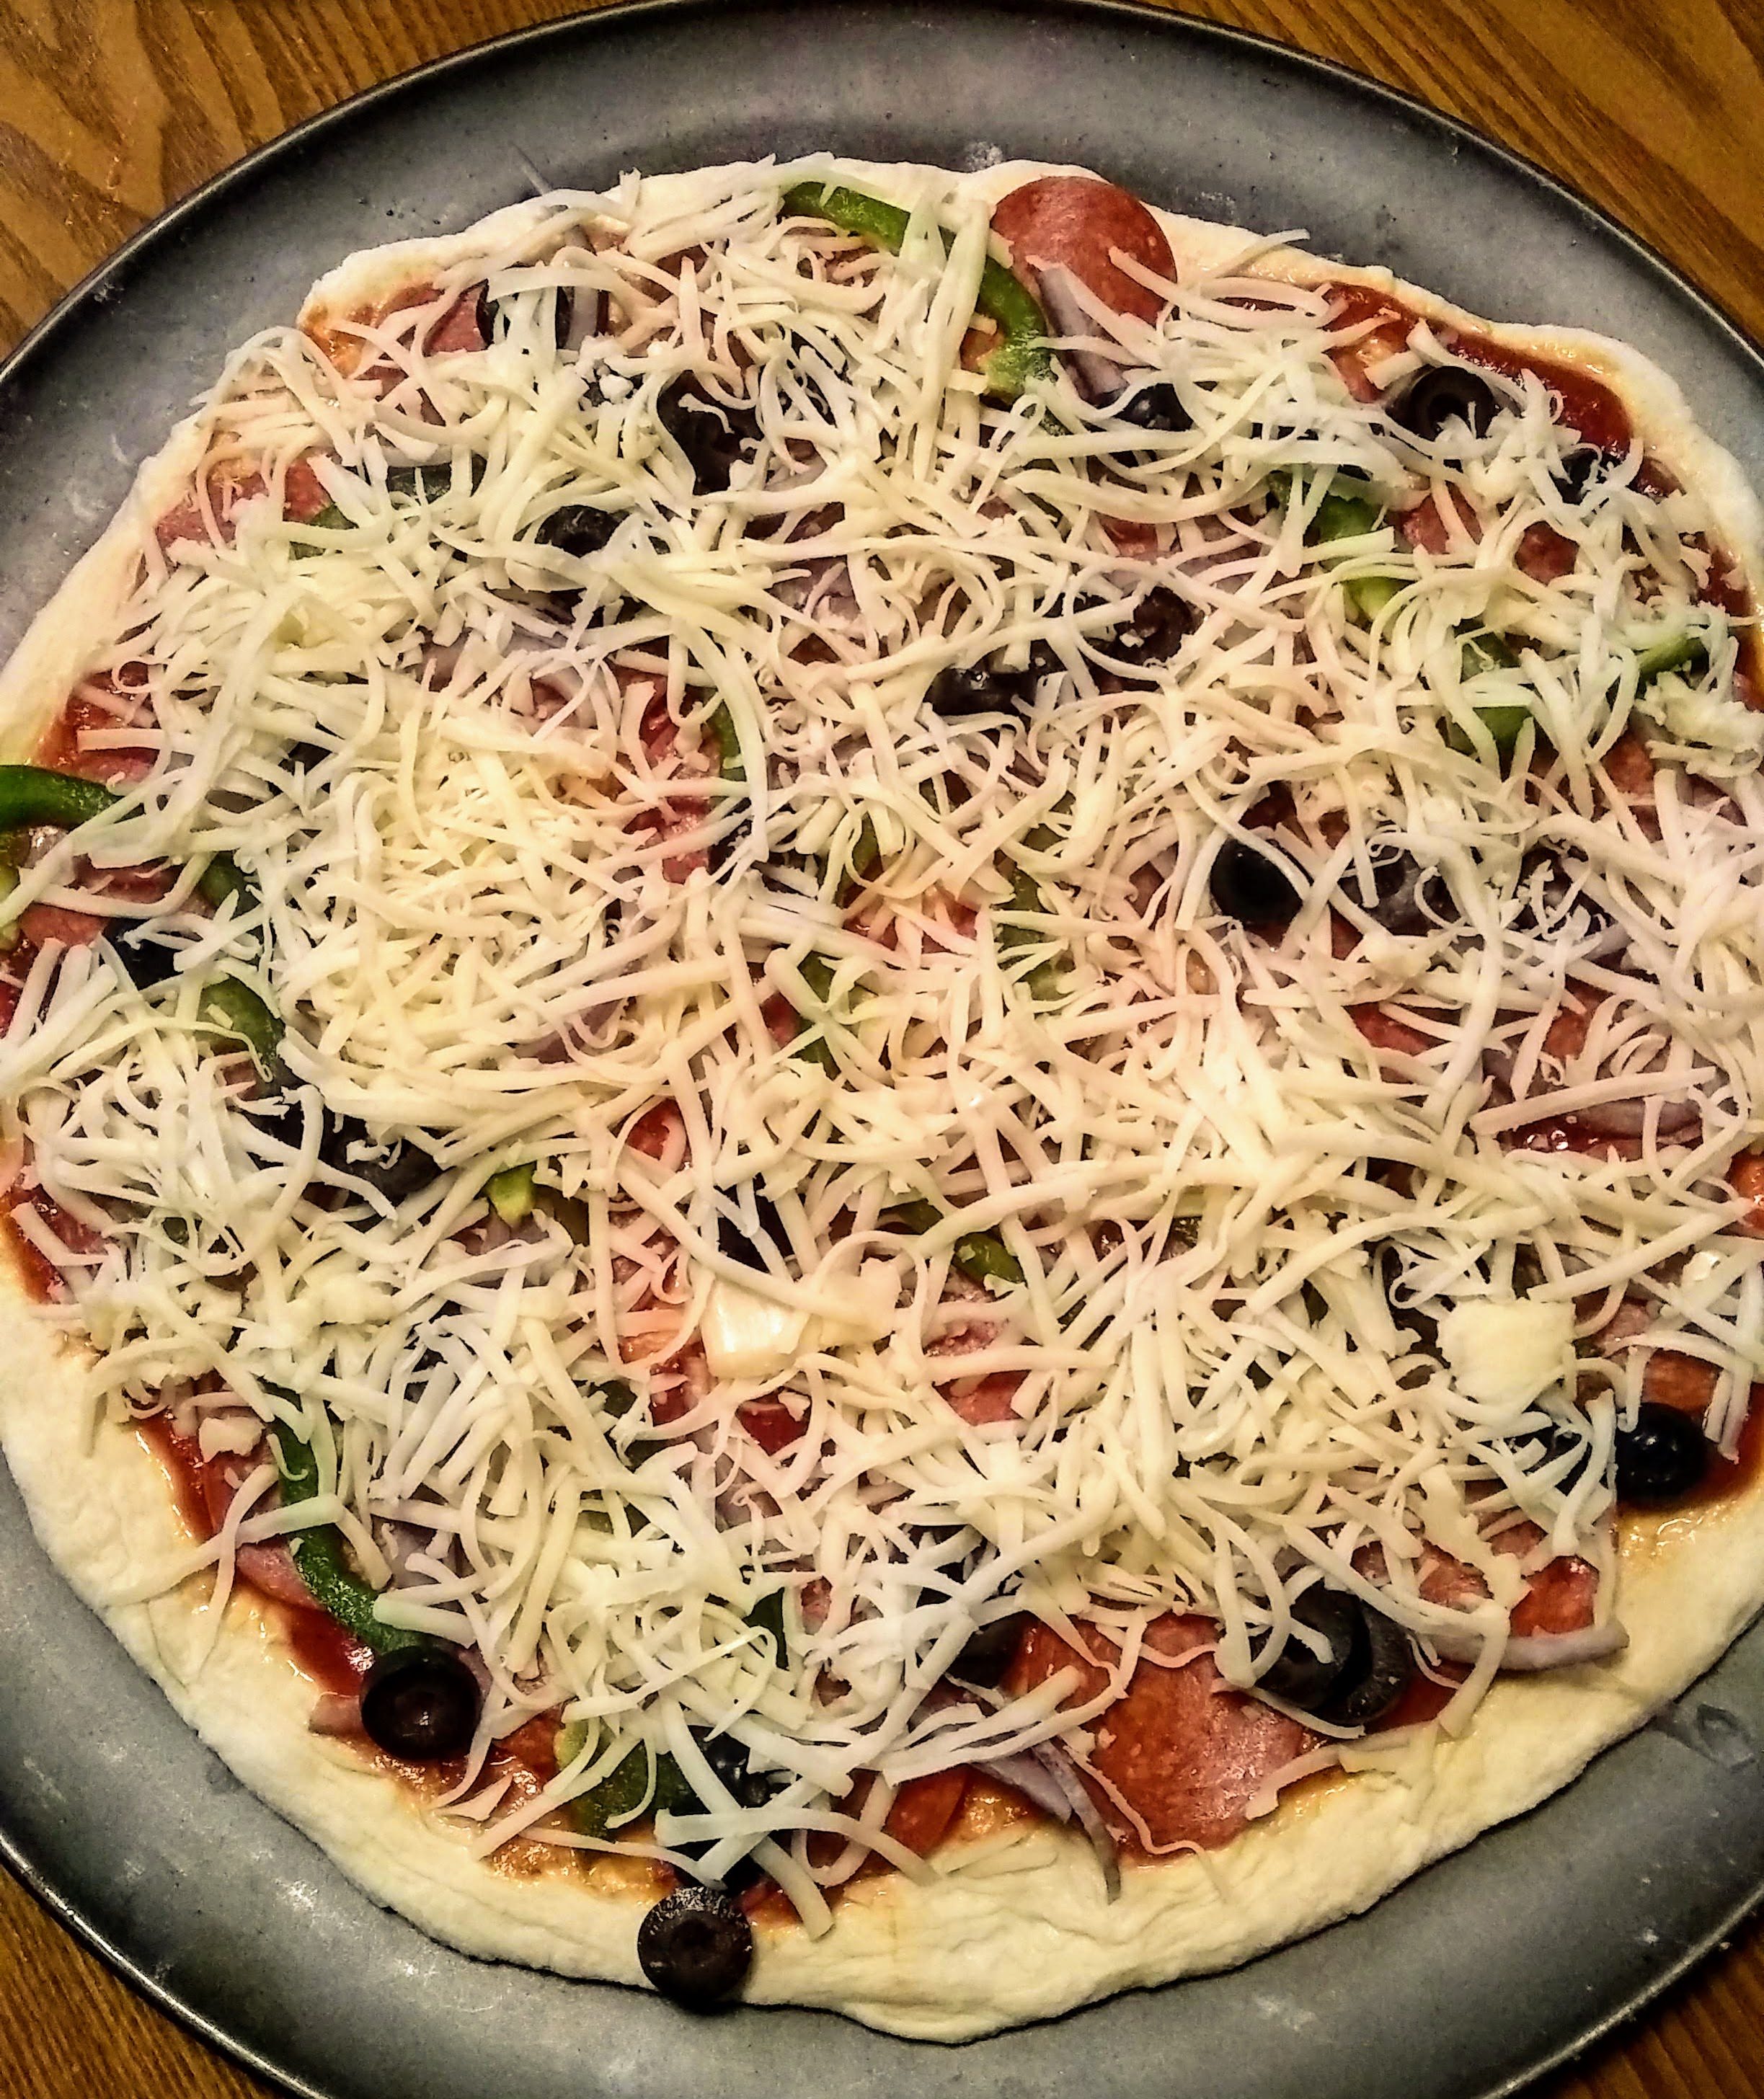 |
| Ready to bake! |
Place your pizza pan on top of the hot upside down iron skillet in the oven. Bake 7-10 minutes.
This sounds delicious! Thanks for the recipe and tutorial, you did a great job. I have been baking my pizzas on top a skillet, (like you suggest,) ever since I heard you did it that way. :) I really like how it makes the crust softer, and chewy. Even store bought pizza tastes better done this way, in my opinion.
ReplyDeleteNow, I want to try making your pizza crust recipe. :) Hope you have a blessed day!
Thank you for the comment, Joyful Heart! I am glad the iron skillet tip has been useful for you! Thank you for stopping by! I hope you have a blessed day, too! :)
DeleteI love this! It its great and I enjoyed it when we made it. AI will make it again that to your simple inspirations :)
ReplyDeleteThank you for the comment, Mommy!
DeleteHomemade pizza is one of my comfort foods. I've never tried in a skillet though. Thank you for sharing your recipe!
ReplyDeleteThank you for the comment, Jennifer! I wanted to clarify, I don't bake the pizza in a skillet. I use an overturned skillet in the oven to put my pizza pan onto. You're welcome for the recipe! If you try it, I hope it turns out good! :)
DeleteI just made this pizza dough recipe for supper tonight. Everyone loved the pizza, and raved over it! :) Your crust recipe turned out chewy and delicious, and it was so easy to make. I also used a butter herb sauce recipe from Amy to drizzle over the pizza, which added extra flavor. I'll definitely be using this recipe again! Thank you for sharing it!
ReplyDeleteThank you for the comment, Sunshine Country! I am so glad to hear that this recipe was a hit at your house! That butter herb sauce sounds yummy!
DeleteI used this pizza crust recipe for supper this evening. It's especially nice how easy it was to make! Thank you for sharing, we really enjoyed it.
ReplyDeleteThank you for letting me know that you tried this recipe! I am glad you like it!
Delete