
{Buy My Cloth Pad Pattern HERE.}
To Cut Out The Pieces:
Take pattern piece B (the piece with the wings) and place it on the topper fabric you have chosen.
Place it so that it goes with the grain and covers a pretty section of fabric that will look good once it is cut out.
Pin it in place or use a pen, pencil, or marker to trace your pattern shape onto the fabric.
Cut piece B from your topper fabric.

Take pattern piece A (the piece without wings) and place it on your absorbent core material. Pin it in place or trace around the edges.

You will need to cut out several of these for each pad.
This is a rule of thumb for how many layers you need:
Terry Cloth-
1 layer = light absorbency
2 layers = medium absorbency
3 layers = heavy absorbency
Flannel-
2-3 layers = light absorbency
3-4 layers = medium absorbency
4-5 layers = heavy absorbency

To cut the back out, take piece B (the one with the wings), and position it on your backer material. Aligning it with the grain may be difficult when using up-cycled materials. Try to make it go with the grain as much as possible.

Pin or trace, and cut.
To Assemble:
Step 1.
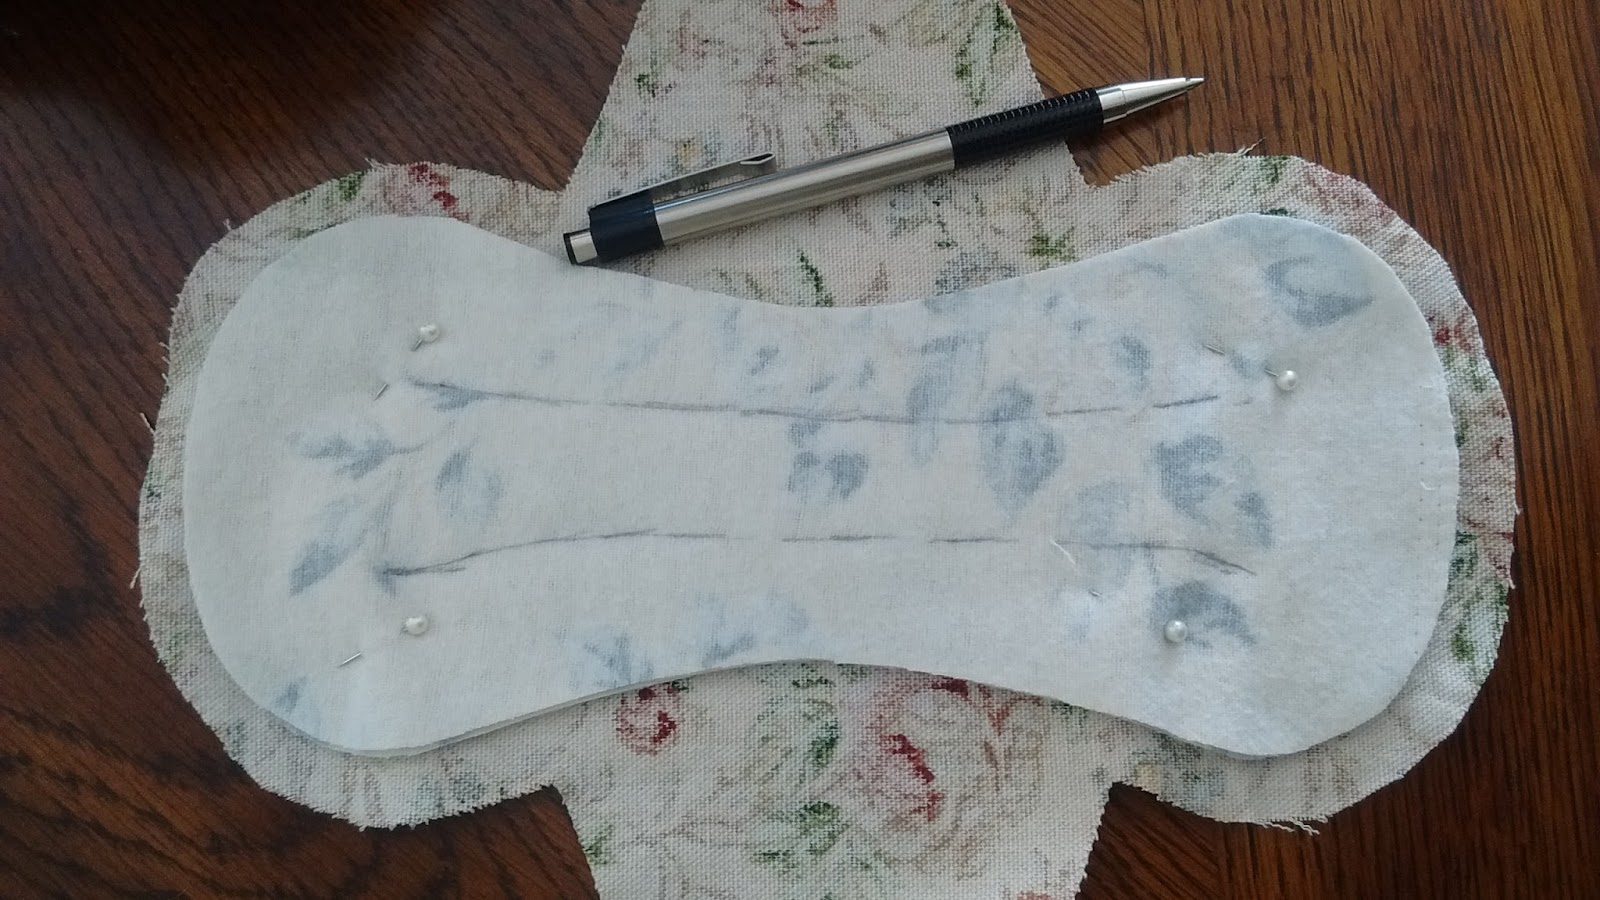
Align the absorbent cores on the WRONG side of the topper.
Pin in place.
Mark quilting lines on the core fabric.

Using a sewing machine stitch through all layers along quilting lines.
Stitch both lines in the same direction.
Backstitch at the beginning and end of each line of stitching to make sure the stitching stays permanent.
The layers will tend to shift so sew at a slow pace.

Step 2.Align the absorbent cores on the WRONG side of the topper.
Pin in place.
Mark quilting lines on the core fabric.
Using a sewing machine stitch through all layers along quilting lines.
Stitch both lines in the same direction.
Backstitch at the beginning and end of each line of stitching to make sure the stitching stays permanent.
The layers will tend to shift so sew at a slow pace.

Place the top and back together, RIGHT sides together, matching wings and curves. Pin in place.

Mark an area on one wing to be the designated turning hole (as shown). This is where you will be turning the pad right side out.

Stitch topper and backer together using a 1/2 inch seam allowance, backstitching at the beginning and ending. Leave the designated turning hole UNstitched.
Step 3.
Trim seams to about 3/16 inch from stitching. Leave the designated turning hole untrimmed (as shown).

Clip corners (as shown).

Clip inside corner at the designated turning hole (as shown).

Step 4.
Turn the pad right side out through the designated turning hole. Work all of the layers, edges, and corners until they lie flat.

Step 5.
Hand stitch the designated turning hole closed using a slip stitch or running ladder stitch.

Step 6.
Topstitch 1/4 inch from the edge along the entire perimeter of the pad, backstitching where topstitching meets.

Step 7. (Finishing)
Mark placement for snaps on wings. Install fasteners.

Finished pad:

2 comments:
I'm all caught up now ;)
Great series so far! I look forward to trying cloth pads out sometime! Well... sort of.. ;P
Thank you for leaving a comment, Haley!
Haha! I totally understand that! :)
Post a Comment