

I start by cutting the pieces out. I usually have some scraps or remnants.

I use denim from jeans a lot of the time.

It is fun to make the belly of the whales out of a contrasting printed fabric.

If I am not using a print material for the belly I will use the denim wrong side out.

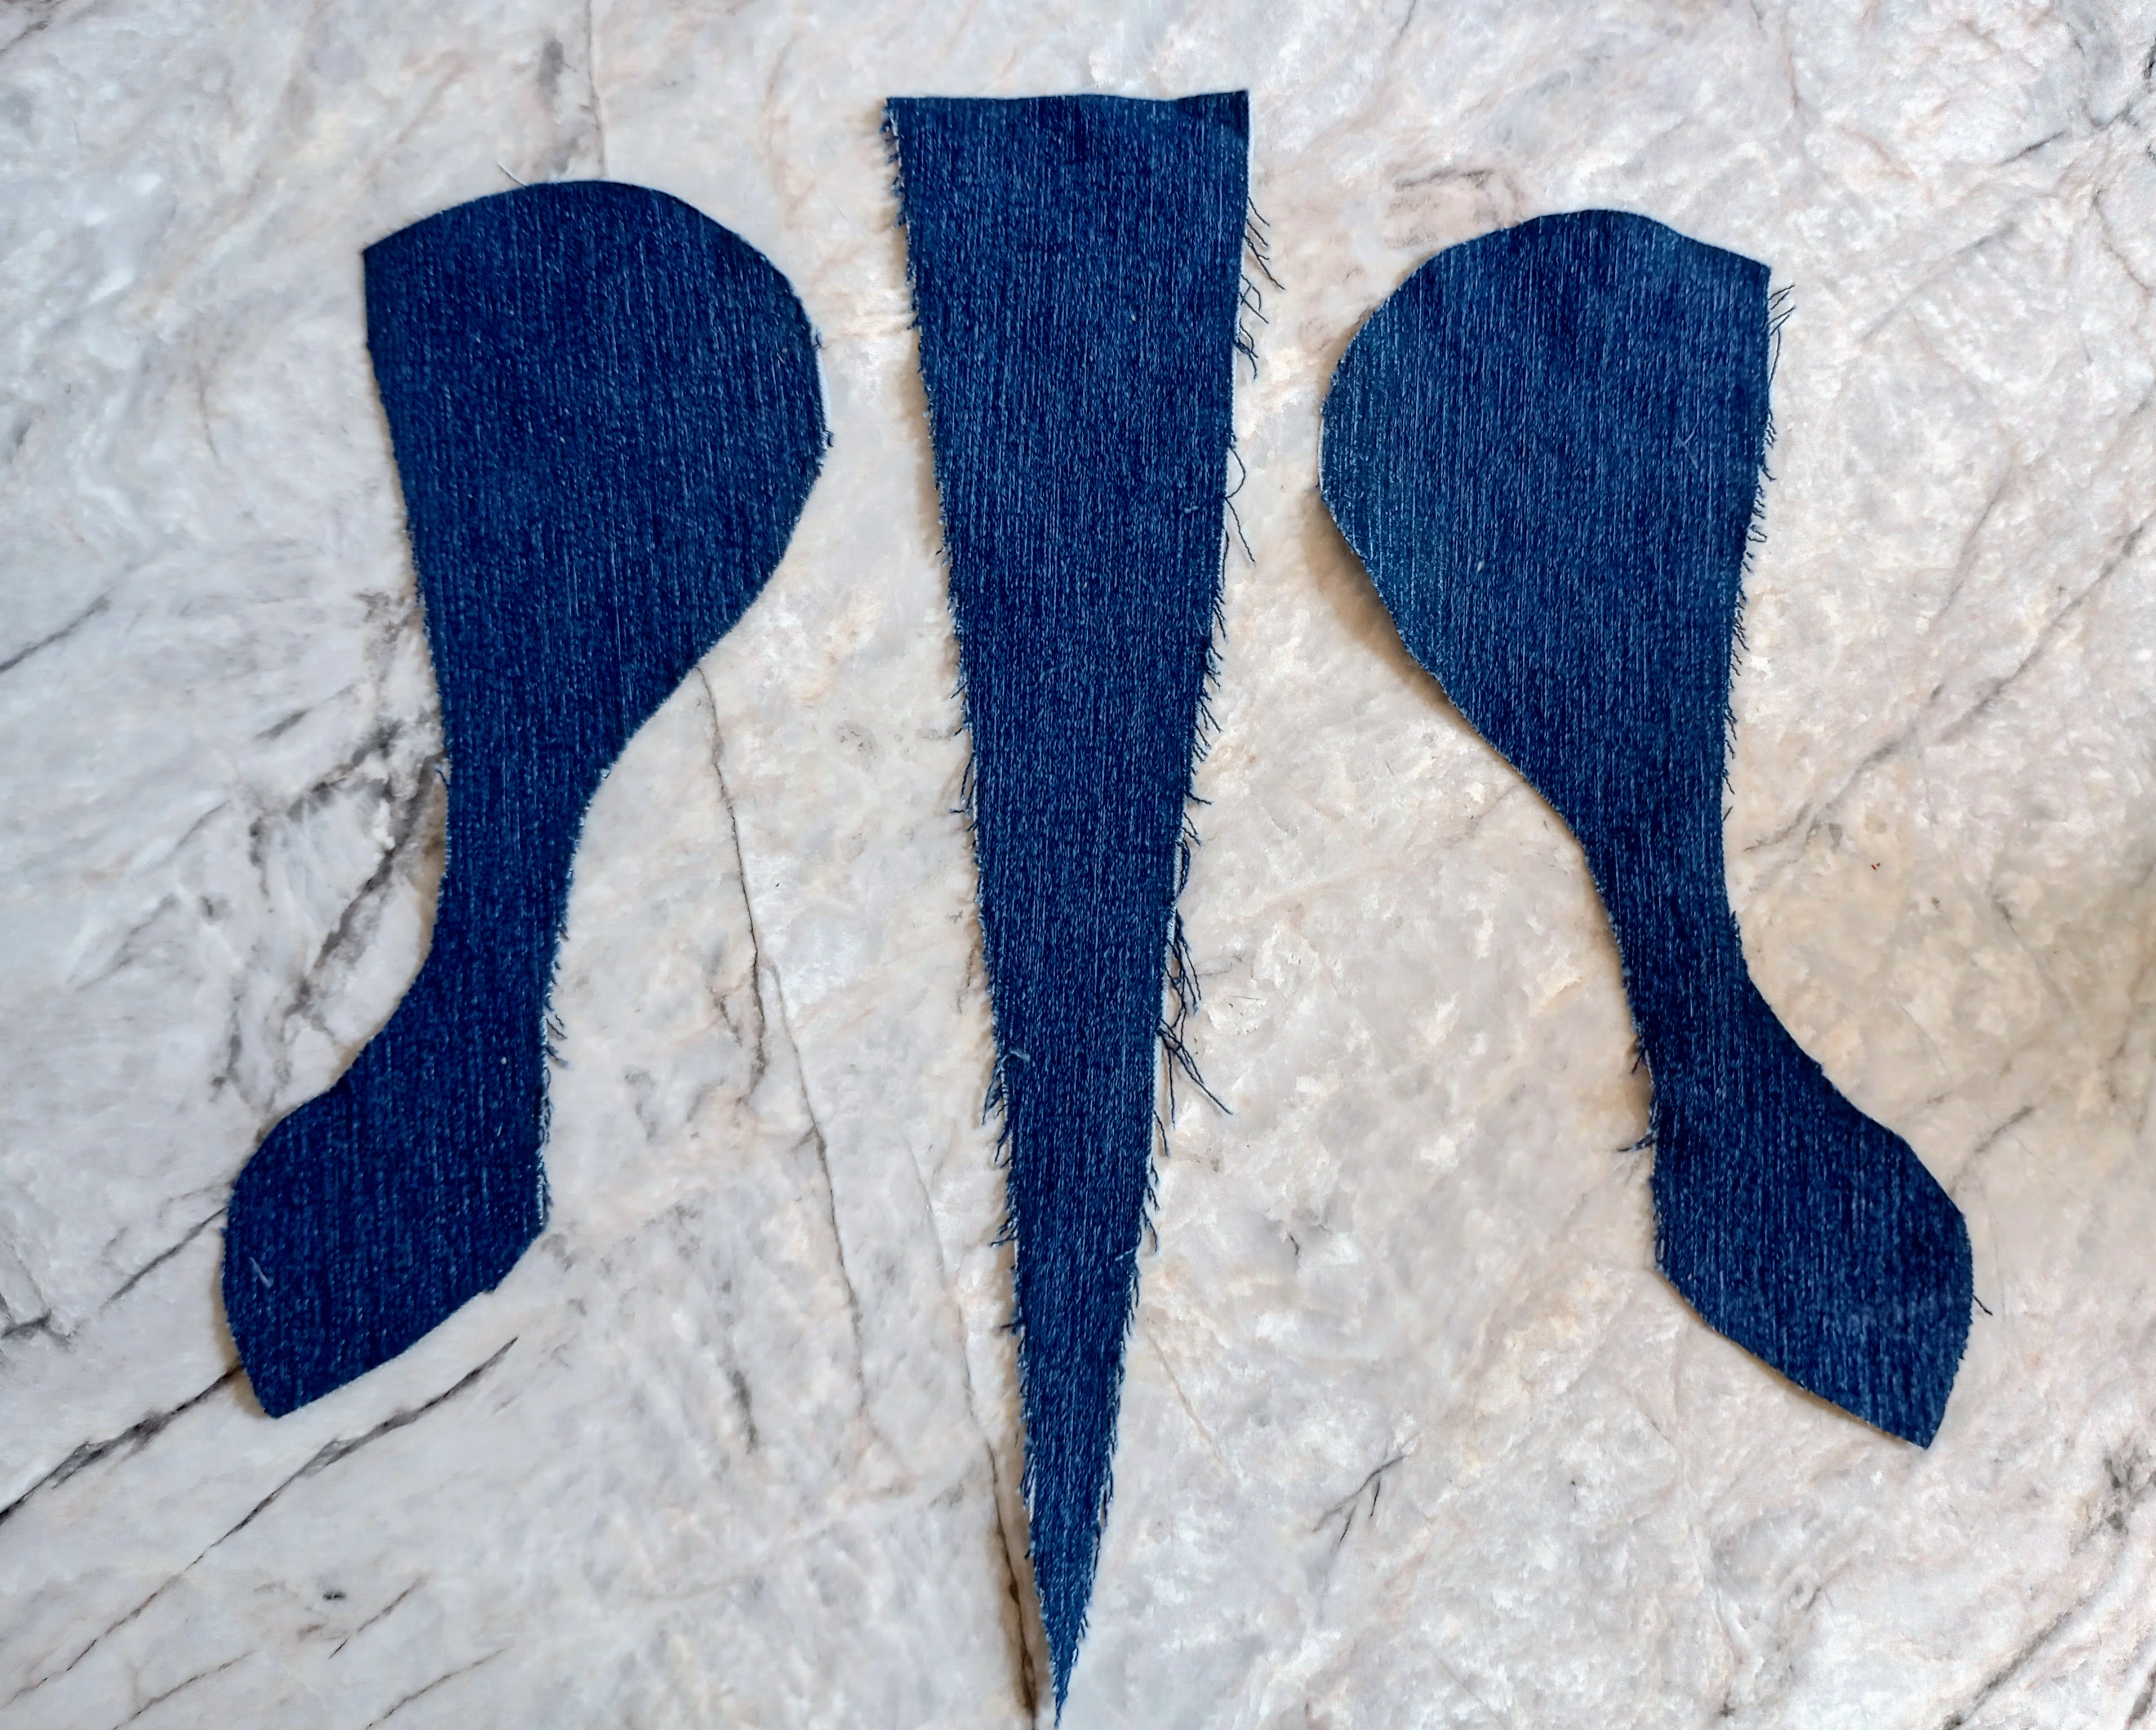
Here are all the pieces for the upper whale laid out:

Step 2. Line up the other side to the center piece, pin, stitch, and zigzag.

Lining up the tail can be a little tricky. Make sure you fold open the first seam (from step 1.) Line the tail pieces up and pin in place. Pin it on the outside of the first seam. You want to be sure your stitching incompasses the first seam at the end of the pointed center piece so as not to leave any of the raw edge exposed.


Step 3. Take the flipper pieces and pin them right sides together, stitch and clip curves. Flip right side out.


Step 6. Zigzag stitch the raw edges of the belly piece and the upper assembly where the mouth opening will be. This will keep the edges from unraveling during the maneuvering of flipping the whale right side out and stuffing with polyfill.

Step 7. With right sides together, pin the belly piece to the upper assembly lining up the centers and tails. Stitch leaving and opening at the mouth, clip corners and zigzag to finish the raw edges.

Step 8. Turn whale right side out. A wooden skewer comes in handy with the corners of the tail.

Step 9. Stuff the whale with polyester filling. The wooden skewer is handy for this, too.

Step 10. Pin the opening closed.

Step 11. Using a ladder stitch, stitch the opening closed.

The body of the whale is done. All that remains is to sew on the eyes.

Next week: How to sew on whale eyes.
4 comments:
Those are really cute! I don't think I have the patience to sew one of these, lol but it was fun seeing the pictures for the tutorial. :)
Thank you, Amy! I appreciate the compliment. I'm glad you thought the tutorial was fun!
Aww it’s Zella’s whale!
Thank you for stopping by and leaving a comment!
Post a Comment