Showing posts with label Baby. Show all posts

Tuesday, June 24, 2025

Sewing in June


My son needed this button sewn to his shorts.

These shoes that are new to me needed a little stitch where the thread had unraveled.

You may have noticed that I had no sewing updates for May. That is because I had a baby on April 28th. I took the month of May off from sewing projects. Due to baby gifts and people bringing us meals I have a lot of thank you cards to send.
I made this design, copied off a bunch, and then added the color with crayons. It's not a sewing project but it is a creative endeavor.
I have also started another pioneer doll. So far the face is embroidered and the seam allowances are marked.


By the way, our baby is a girl. Delivery was a very uncomplicated, routine affair. Baby girl has been blessed with good health and is growing like a bean. We love her very much!

Saturday, September 7, 2024

Art


My mother-in-law bought me a sketch kit for my birthday this week. I was so excited to use it that I started as soon as I opened the package. I made these two drawings for a double baby shower today. I made the cards from these drawings. One of the families is expecting a boy. The other one is expecting a girl. And their due dates are a week apart, I believe. They are going to be close cousins!

I hope you all have a lovely weekend and get to enjoy fellowship with believers tomorrow. 

Hebrews 10:24+25
And let us consider one another 
to provoke unto love and to good works:

 Not forsaking the assembling of ourselves together, 
as the manner of some is; 
but exhorting one another: and so much the more, 
as ye see the day approaching.


Monday, August 21, 2023

Stuffed Baby Whales Toy Tutorial Part 2: The Eyes

To sew the eyes:

I cut the eyes from a piece of tightly woven, white cotton. I use the back of a pen for a template.


I place the eye on the whale and use a pin to keep it in place.


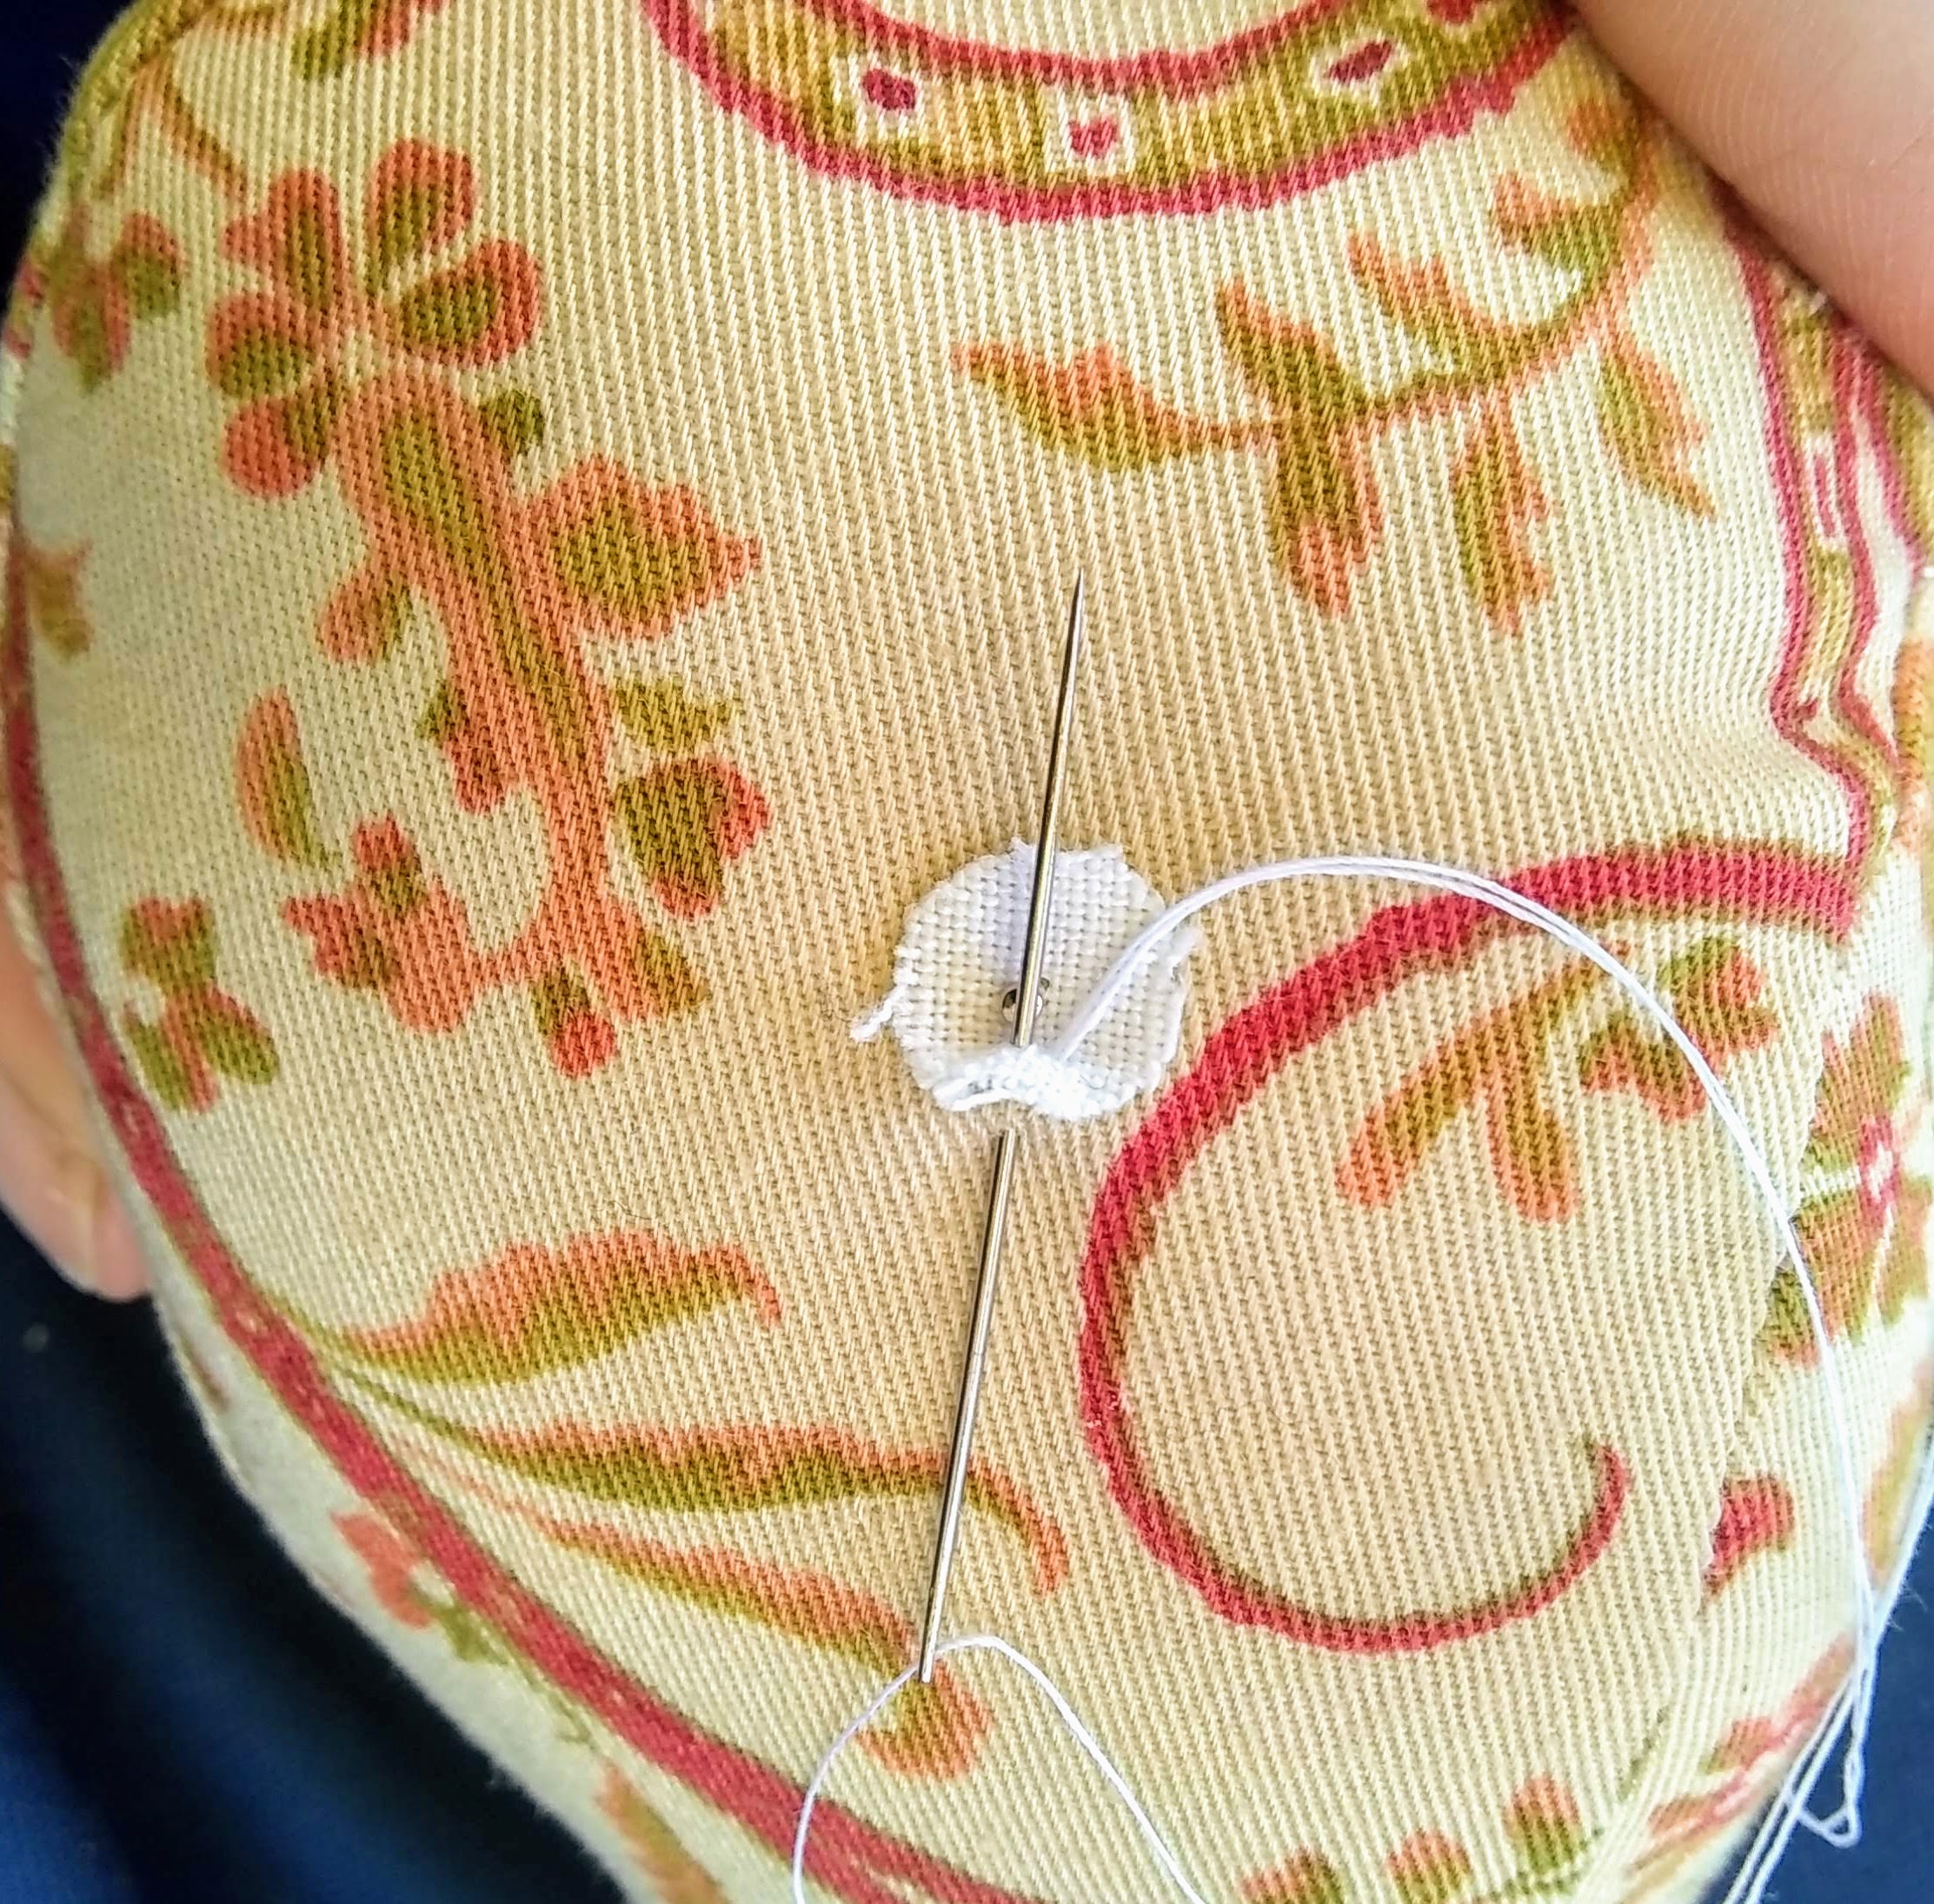
I thread a needle a tie a secure knot at the end. I poke the needle into the whale a short distance from the eye. I am careful to put the point of the needle between the weft and warp of the weave.


Pull the needle up through the edge of the eye. And pull the knot through to the inside of the whale.


Make a small stitch around the edge of the eye and through the whale fabric.


Pull the stitch down to a small loop.


Using the tip of my needle I lay the stitch just where I want it as I pull the thread tight. 


Keep stitching around the edge of the eye.


Go all the way around.


And then stitch all the way around for a second time.


To tie my thread off, I tie a knot in the the thread.


I tie another knot right on top of the first knot.


I poke the tip of my needle, trying to place it between the weave. I have my needle come up a short distance from the eye.

I pull the knot through the hole, and down into the whale.


Clip the thread off. 

Next, the pupil of the eye has to be added.

I use a double threaded needle. I tie a knot and pull the knot to the inside of the whale.
I make the pupil with a padded satin stitch. Meaning; I make stitches in one direction and then stitch over top of the first stitches in the opposite direction.

To tie the thread off; I tie a single knot in the thread then poke the tip of my needle down, trying to place it between the weave of the eye fabric and the whale fabric beneath.

I put the needle up some distance away from the eye. I pull the knot through the fabrics. I help the knot go through by pushing down with the tip of my needle while keeping tension on the thread by pulling tightly with my fingers.

Clip the thread.

Tada! Finished!


Monday, August 14, 2023

Stuffed Baby Whale Toy Tutorial Part 1: The Body


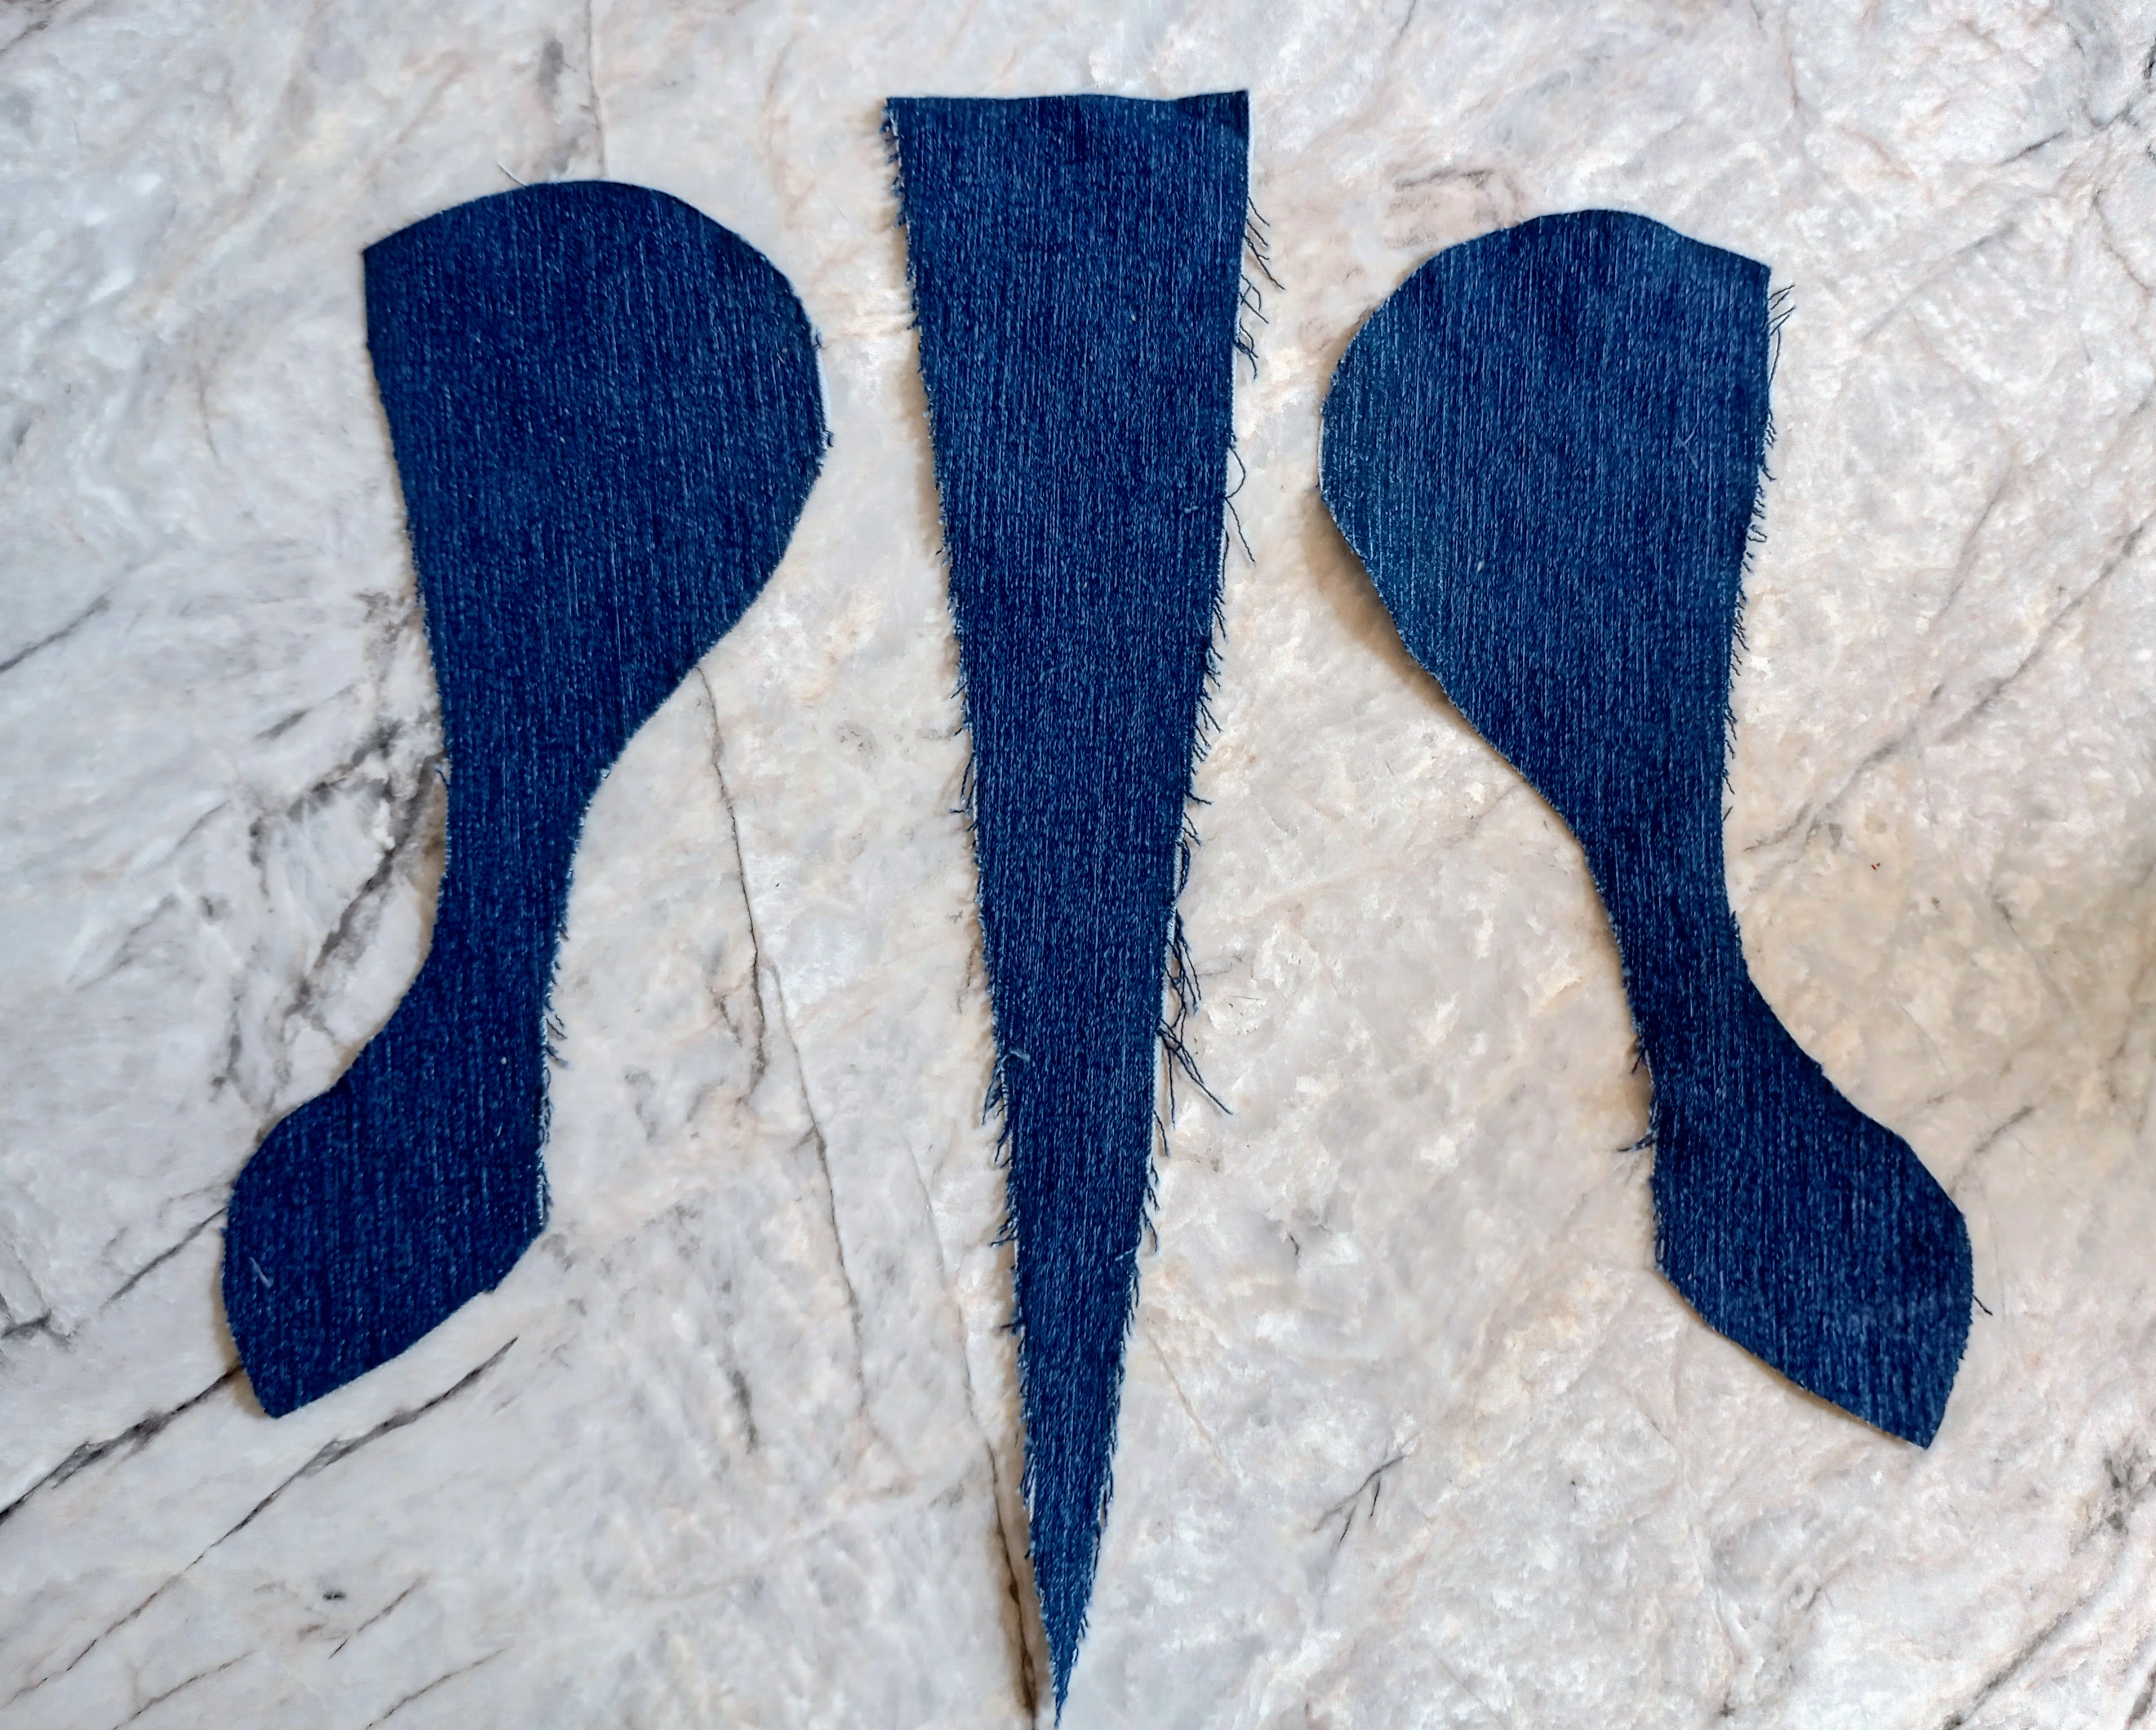
I start by cutting the pieces out. I usually have some scraps or remnants. 


I use denim from jeans a lot of the time. 


It is fun to make the belly of the whales out of a contrasting printed fabric.


If I am not using a print material for the belly I will use the denim wrong side out.


Here are all the pieces for the upper whale laid out:

Step 1. With right sides together pin the center to one of the sides. Then stitch and zigzag the seam.

Step 2. Line up the other side to the center piece, pin, stitch, and zigzag.

Lining up the tail can be a little tricky. Make sure you fold open the first seam (from step 1.) Line the tail pieces up and pin in place. Pin it on the outside of the first seam. You want to be sure your stitching incompasses the first seam at the end of the pointed center piece so as not to leave any of the raw edge exposed.
You can check to see if your seam is deep enough by turning the tail over the second row of stitching should be a little wider seam that the first seam's stitching.

Step 3. Take the flipper pieces and pin them right sides together, stitch and clip curves. Flip right side out.
Step 5. Pin the flippers to the right side of the belly piece, baste.

Step 6. Zigzag stitch the raw edges of the belly piece and the upper assembly where the mouth opening will be. This will keep the edges from unraveling during the maneuvering of flipping the whale right side out and stuffing with polyfill.

Step 7. With right sides together, pin the belly piece to the upper assembly lining up the centers and tails. Stitch leaving and opening at the mouth, clip corners and zigzag to finish the raw edges.

Step 8. Turn whale right side out. A wooden skewer comes in handy with the corners of the tail.

Step 9. Stuff the whale with polyester filling. The wooden skewer is handy for this, too.

Step 10. Pin the opening closed.

Step 11. Using a ladder stitch, stitch the opening closed.


The body of the whale is done. All that remains is to sew on the eyes. 


Next week: How to sew on whale eyes.