Showing posts with label Embroidery. Show all posts

Wednesday, May 29, 2024

Sewing Summary For May

 I'm here for the sewing progress summary for the month of May 2024.

After looking at monogram designs on Pinterest for ideas, I came up with this version for hand embroidery.

Letter 'D' monogram.

I made a set of 6 monogrammed handkerchiefs for my friend's birthday.

This is what the underside of my embroidery looks like.

I took a close up picture of the flower. I used bullion knots for the petals.
I finished my sling bag! I am very happy with the results.
Front View
There is a pocket on the back that is perfect for my phone. I put a calculator on the pocket to demonstrate.

Back View
I added a loop at the top so that I can easily scoop the bag up with one finger if my hands are full.
I attached some beads to the zipper pull tab to make it easier to grasp the zipper.

I finished this bag for my oldest son. I was done it time for his birthday.
Now my 9 year old and my 6 year old both have a sling bag!

Both boy's bags side by side.

I have one more sling bag in my roster to make. I should be able to show you my last finished bag at the end of June. I already have the pieces prepared and ready for assembly.

See you June!
Happy sewing!

Monday, August 21, 2023

Stuffed Baby Whales Toy Tutorial Part 2: The Eyes

To sew the eyes:

I cut the eyes from a piece of tightly woven, white cotton. I use the back of a pen for a template.


I place the eye on the whale and use a pin to keep it in place.


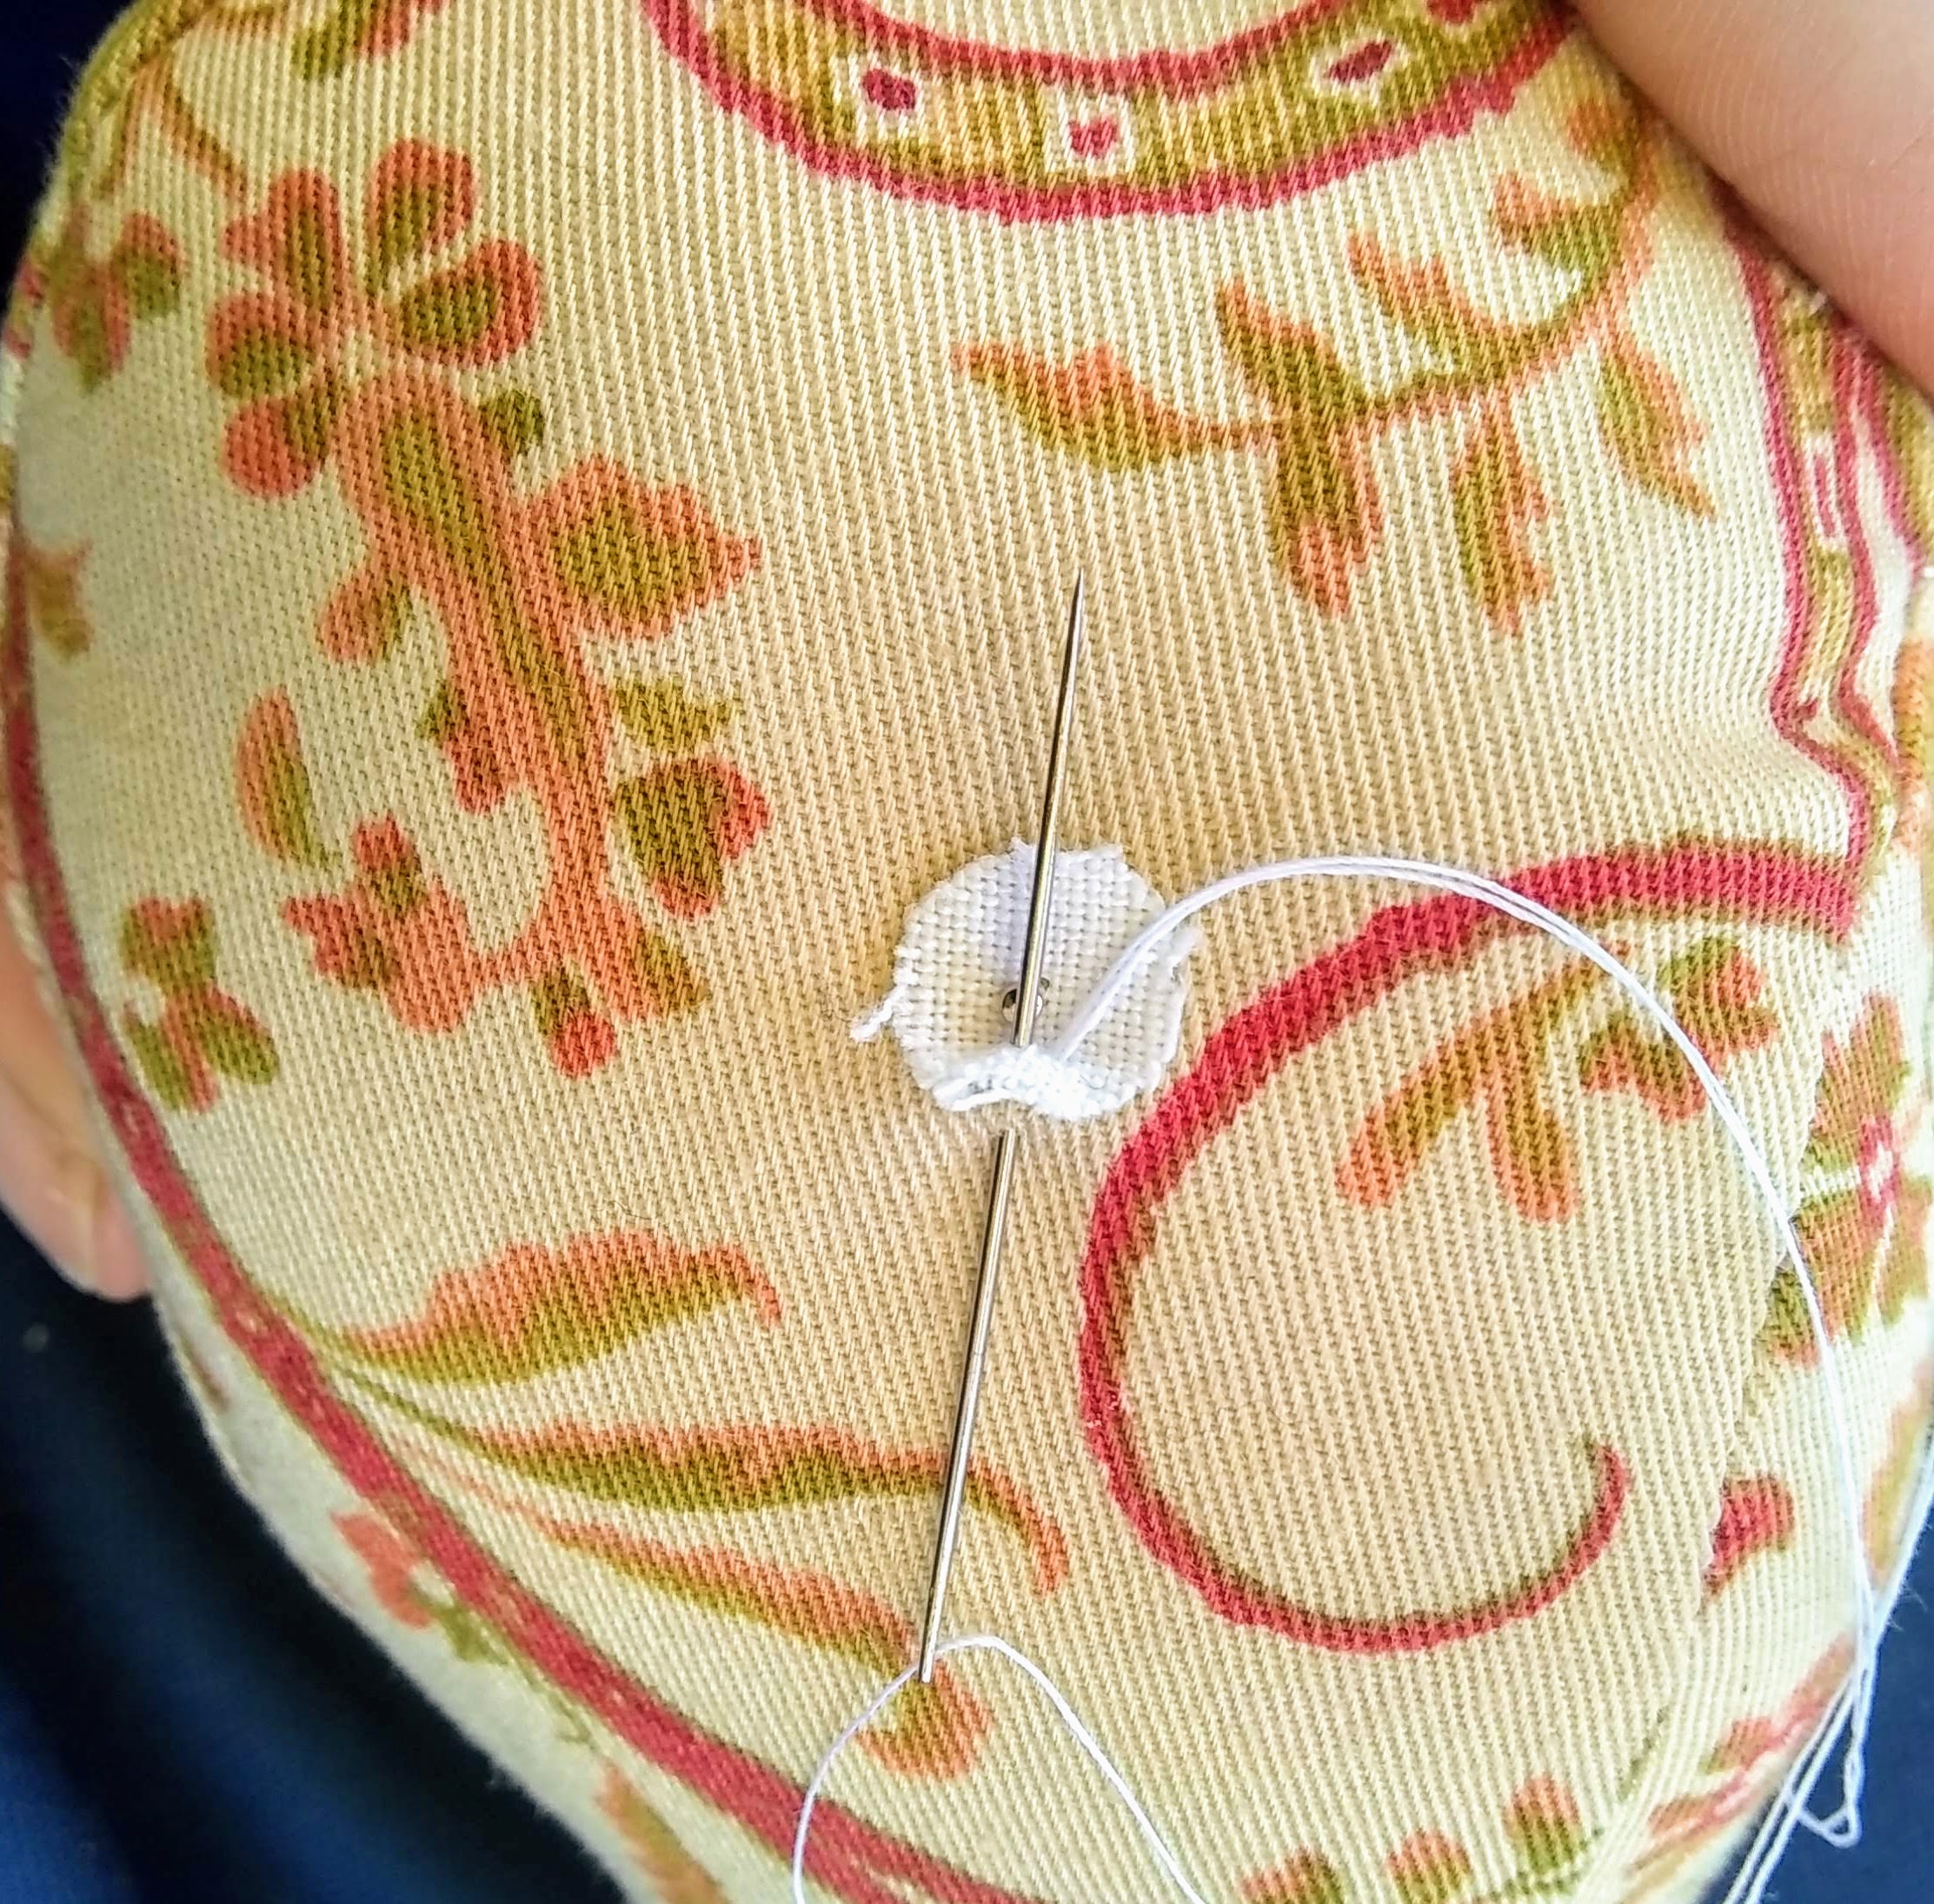
I thread a needle a tie a secure knot at the end. I poke the needle into the whale a short distance from the eye. I am careful to put the point of the needle between the weft and warp of the weave.


Pull the needle up through the edge of the eye. And pull the knot through to the inside of the whale.


Make a small stitch around the edge of the eye and through the whale fabric.


Pull the stitch down to a small loop.


Using the tip of my needle I lay the stitch just where I want it as I pull the thread tight. 


Keep stitching around the edge of the eye.


Go all the way around.


And then stitch all the way around for a second time.


To tie my thread off, I tie a knot in the the thread.


I tie another knot right on top of the first knot.


I poke the tip of my needle, trying to place it between the weave. I have my needle come up a short distance from the eye.

I pull the knot through the hole, and down into the whale.


Clip the thread off. 

Next, the pupil of the eye has to be added.

I use a double threaded needle. I tie a knot and pull the knot to the inside of the whale.
I make the pupil with a padded satin stitch. Meaning; I make stitches in one direction and then stitch over top of the first stitches in the opposite direction.

To tie the thread off; I tie a single knot in the thread then poke the tip of my needle down, trying to place it between the weave of the eye fabric and the whale fabric beneath.

I put the needle up some distance away from the eye. I pull the knot through the fabrics. I help the knot go through by pushing down with the tip of my needle while keeping tension on the thread by pulling tightly with my fingers.

Clip the thread.

Tada! Finished!


Tuesday, June 21, 2022

I Made A Doll Kit Gift


I put together a doll sewing kit for a girl from our Church. Her 12th birthday is coming up and I think this kit will be right up her alley.


I cut out the doll pieces from some tan fabric.
I included 1.8oz. of polyester stuffing. 
That should be more than plenty!
I added the yarn for the doll's hair. Already precut and ready to sew.
And for good measure, I included a needle book. (Wink)

I embroidered the face because that can be
 a little difficult.
And I traced all the stitching lines onto the pieces.

I assembled everything in a cute box. And I printed off a copy of the sewing instructions to include.

If you are interested in putting together a doll kit, you can find my Doll pattern HERE at my QuietStandards Etsy shop.
It is $4.35 for a digital download version of the pattern. That includes all the rights to the pattern, so, you are free to make dolls or doll kits and sell them yourself!

I know I would have loved a gift like this when I was 12. What about you? Did handicrafts play a role in your upbringing?

Tuesday, February 11, 2020

Needle Book Project


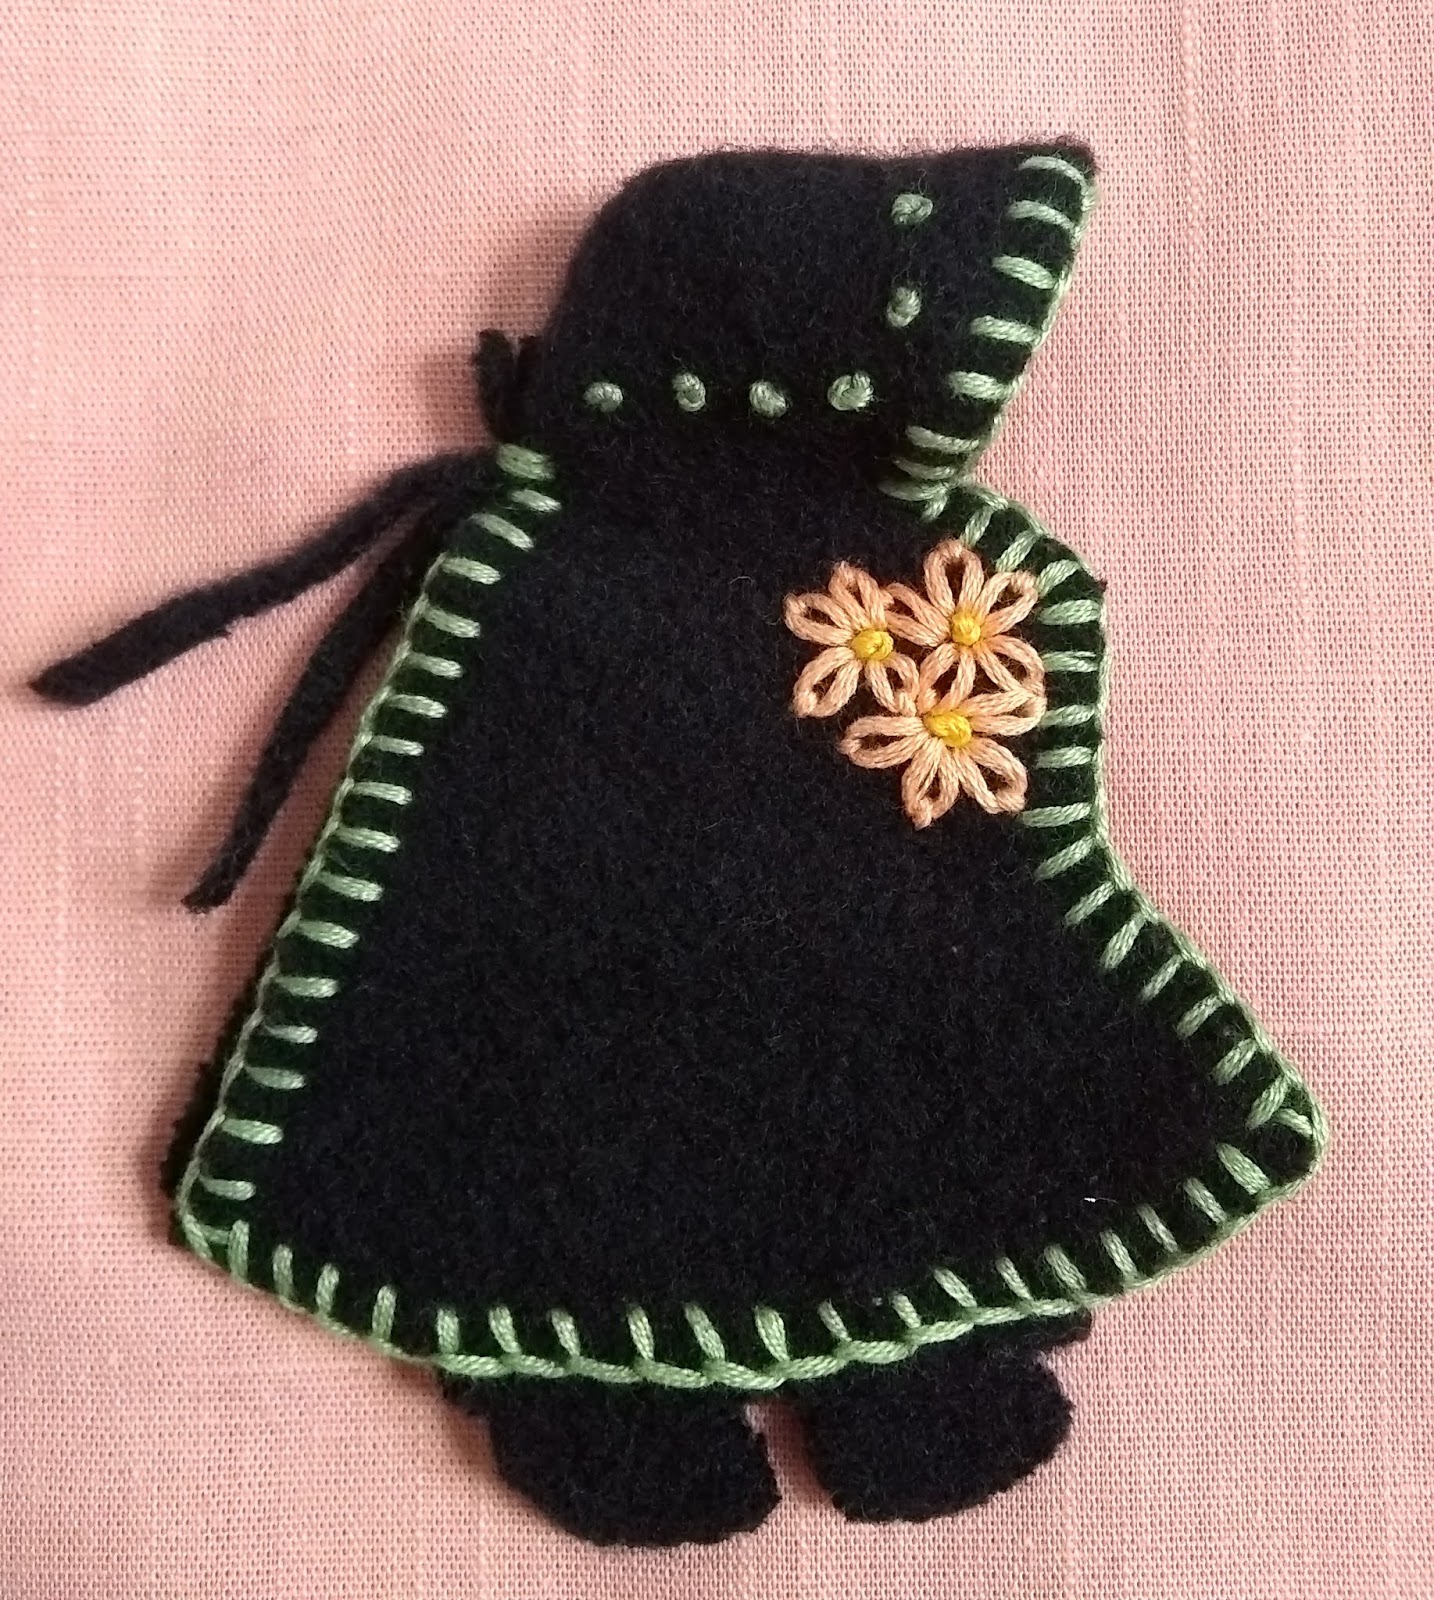
Mr. In The Mid-west bought some boxes of miscellaneous odds and ends at an auction a few years ago. Most of the stuff was junk. While I was going through a box I came across this little Dutch girl. It appeared to be made from woolen felt. There were a few moth nibbles here and there.


I thought it must have been some girls play thing in the past. But no, it had a couple of needles inside. So this little felt Dutch girl was a needle book. "Aww, that's cute," I thought.

Wait, what's this in the bonnet? A thimble! How clever! "I must make some of these!" I said to myself.

I had a nice piece of remnant wool felt. It was a small enough piece that I had not been sure I would be able to use it for a project. It was perfect for this needle book project. I thought the original Dutch Girl was cute, but I added some decorative lazy daisy flowers to my versions to spice them up a little.


Aren't these darling!


I am still using the bedraggled, junk box needle book. She serves my purposes well. (And I do use her a lot!) It would be a shame to retire her now. But when she does wear out I'll have a new, flowery needle book to take her place. :)


If you are interested in having one of the Dutch Girl Needle Books that I have made you can purchase them on QuietStandards, my Etsy shop. :)

Friday, July 14, 2017

Embroidered Hair Band


I made this hair band as a birthday gift for my sister. Her birthday is actually today, so, "Happy 6th Birthday!" to her. :)

(Picture used with permission.)

Isn't she so cute! She has such lovely curly hair, but, she gets really frustrated by it being in her way. I thought maybe the hair band would help her a little.


I did some modeling with it just to get pictures. And, I did take LOTS of pictures!


I would like to make a few more of these hair bands in the future. I made this design up as I went, so the pictures will help me replicate it someday.


I have been wearing more hair accessories lately. I style my hair very plainly. Almost every single day of my life I put hair in a bun, and that is all I do.


I put my hair in a bun every day because it is easy, convenient, and protects my hair, and, since I want to be able to sell it for a high price I want it to stay in good condition.


I have found adding accessories to my plain style has been a fun way to express some of my personality. I think I would use an embroidered piece like this pretty frequently.


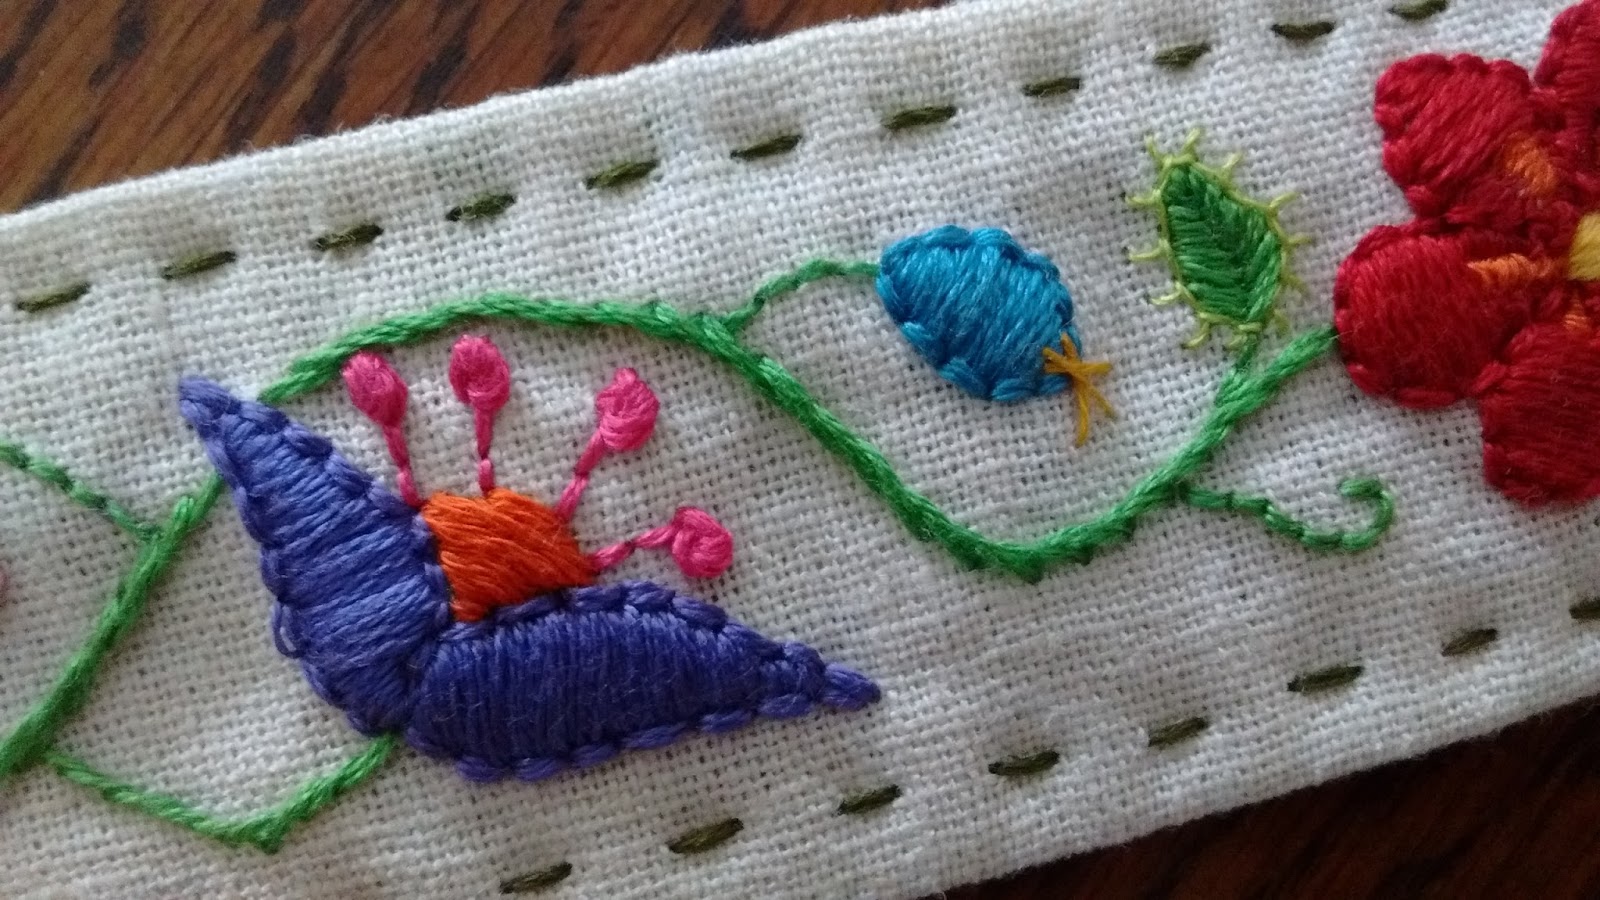
The design was inspired by Mexican and Hungarian styles of embroidery (what a combination! Right?). I did several searches on Pinterest that gave me some good ideas.


The flowers are comprised mostly from satin stitch with a backstitch boarder. I used 3 strands of floss for the satin stitch as well as the backstitch.


The stems between the larger flowers is a stem stitch using 3 strands of floss while the smaller stems are backstitching using 2 stands of floss. The leaves are some type of herring bone stitch, I believe. I did a blanket stitch detail around some of the leaves using just 1 strand if thread.


I used an unbleached linen to make the band from. I liked the end product, but it would be easier to embroider finer details with a more tightly woven fabric.


After I stitched the design I sewed the back on by putting the right sides together, adding a layer between the front and back to act as interfacing, stitching with a 1/4" seam allowance down the long edges, and then turning it right side out.


I decided to make the tie straps from the linen, as opposed to using a ribbon, because the linen would offer more grip and be more likely to stay tied.

The overall length is slightly over 30 inches. I think it is a good length. It was not hard to tie on nor was there a lot of excess.


When I finish assembling the band I did a boarder stitch through all the layers to add visual completeness as well as to keep the casing from rolling.