Tuesday, October 27, 2020

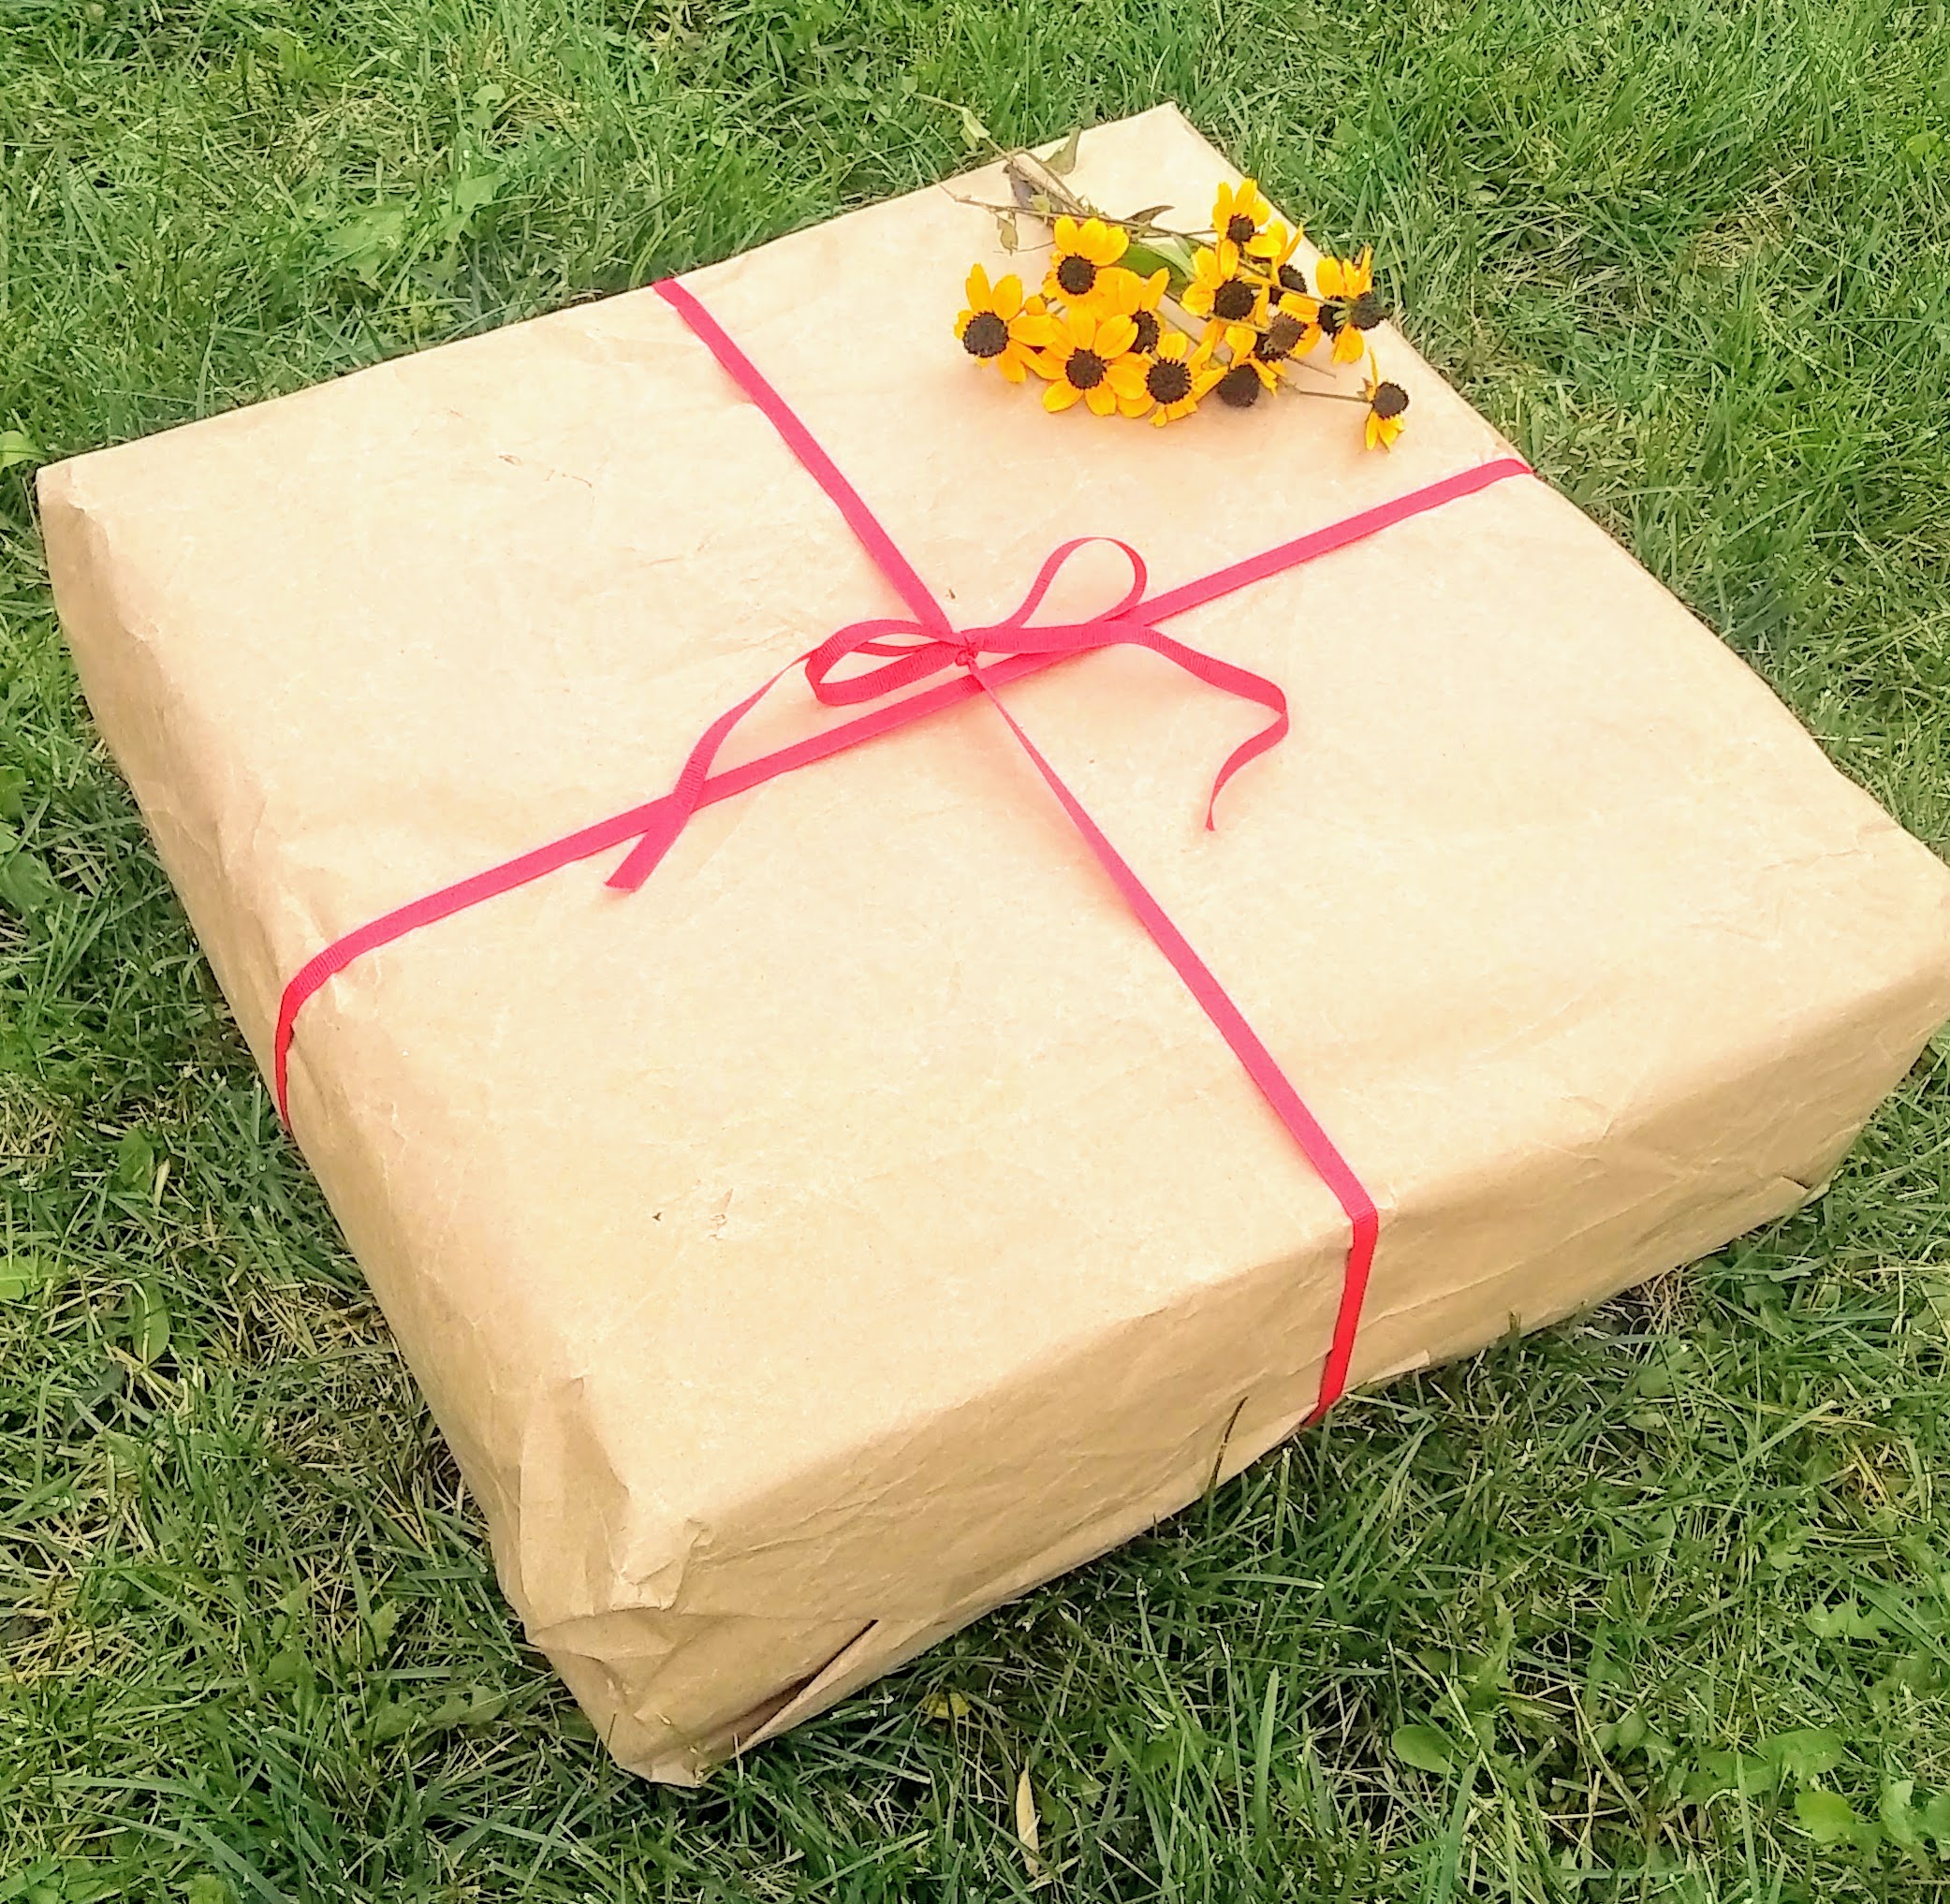
Cheap And Creative Gift Wrapping Paper


Here are some gift wrapping ideas. These are all things that I have done. I don't like to spend money on one-time-use, disposable purchases, for instance; wrapping paper. Besides that, buying wrapping paper squelches my creativity. :) 


1. Brown Paper 

I save packing paper that comes in packages. It can be ironed to take out most of the wrinkles.


Most of the gifts that I wrap get wrapped in old paper grocery bags. These can be cut open and turned inside out. 

Brown paper can be dressed up in many ways.

(a) Ribbon or string.


(b) String with a paper doily or paper snow flake or leaves, as I have done here. You could, also, use pressed flowers.


One of my favorites: 

(c) Draw the Happy Birthday Song.


(d) Draw animal faces and glue on colored paper features.


(e) Use markers to turn your brown paper into wrapping paper.


2. Paper Maps


I think maps make interesting wrapping paper. I save outdated road maps for this purpose.


3. A Basket


Baskets are not always cheap. I always save baskets that are given to me. They make great gift vessels. You can look for inexpensive baskets at thrift stores and garage sales, as well.


Do you have any frugal gift wrapping ideas? Tell us in the comment section!


Tuesday, October 20, 2020

My Aged Pepper Hot Sauce "Recipe"


I call this a "recipe" in quotes, because it is more of a method than a recipe, per se. You can try this method with any kind of hot peppers you like. I like hot sauce that doesn't have a complicated flavor profile. When I buy hot sauce I like to look for a label that reads something like: "aged peppers, salt, and vinegar." The main flavors in the hot sauce I make are peppers and garlic. 


The first year I made hot sauce I made it out of habanero peppers. I didn't follow a particular recipe. I just made it up as I went. I took a bottle of the finished product to my Dad. My Dad is a hot sauce connoisseur. He has a couple shelves of hot sauce in the fridge. He eats food with his hot sauce instead of hot sauce with his food. He is serious about this condiment! My Dad loved my hot sauce!! He called me up and said, "I hope you remember how you made that hot sauce. The bottle is about gone and I am going to need some more!"

I was like, "Oh, I just fermented some peppers and blended them up."

My brother, Aaron, interviewed me to get more details. His questions helped jog my memory, and helped me figure out what I had done to make the hot sauce. Here is my method:


Hot Sauce

1 qt. Peppers

1 bulb Garlic

1qt. Water 

1 TBS. Kosher Salt or other Salt with no additives

Apple Cider Vinegar


Put fresh peppers and peeled, whole, garlic cloves into sterilized glass jar. Make a brine by mixing the water and salt together until the salt has dissolved. Pour the brine over the peppers. Keep the peppers submerged with a weight. I like to use a glass with water in it as a weight. Set the jar in a place out of direct sunlight and let age at room temperature for 10 days. If the brine level falls below the peppers just top the jar off with more brine. 


After 10 days blend the peppers and garlic in a food processor. Add as much brine as you would like. The hotter you want the sauce the less brine you want to add. Personally, I add all the brine and I think the sauce is plenty hot enough. Strain the seeds and skins out with a wire mesh. Add a little apple cider vinegar to reach the desired tanginess. You may, also, want to add more salt. I usually do add more salt. Pour into a bottle and store in the refrigerator. Enjoy!


Tuesday, October 13, 2020

Slime And Borax Solution Recipes


I have not made slime often enough to remember the recipe. Every time I have to look it up online, and I don't know which recipe I have tried in the past, or which one I should go with.


For future reference this is how to make slime:


Number 1, make sodium tetraborate solution, as follows:

Sodium Tetraborate Solution

Mix 1 cup of water with 1 TBS. of 20 Mule Borax. Stir until borax dissolves. 


Number 2, make slime:

Plain Slime

1/2 cup white glue

1/2 cup water

A few drops of food coloring (optional)

1 1/2 TBS. sodium tetraborate solution

Mix together the glue, water, and food coloring. Add the sodium tetraborate solution 1/2 a tablespoon at a time. Stirring in between additions. The more you add the harder it will get. Don't add any more if your slime reaches the consistency you want before you add the whole 1 1/2 tablespoons.


Fluffy Slime

2/3 cup white glue

1/2 tsp. baking soda

1/4 cup water

A few drops of food coloring

2-3 cups shaving cream

1 1/2 TBS. sodium tetraborate solution


In a bowl, mix together the glue, baking soda, water and food coloring. Add the shaving cream and stir well. Add the sodium tetraborate solution half a tablespoon at a time, stirring between additions. When the slime starts to come together it can be kneaded in order to fully incorporate the borate solution and complete the transformation. This fluffy slime is really fun to play with. The fluffiness wears off after a day, but the slime stays good for a while if stored in an airtight container.


Do you have a favorite slime recipe? Tell us about it in the comments section! We would like to give your recipe a try! :)

Wednesday, October 7, 2020

My Friend's New Blog!


I have been helping my friend, Leah, start a blog! It is called Fluttering Towards Faith. She wrote her first post this morning! She is really new at this blogging stuff. Please go check her blog out and show her some kindness! Here is a link.


I met Leah on a recent stay in Pennsylvania. She is a true kindred spirit! Our personalities meshed right away! She is a sweet, generous, Christian lady. We share a lot of the same interests. I "ooed and awwed" over her beautiful garden. She showed me her chickens and her goats. I was really excited to see the goats! They were some nice looking Nubians. I grew up with Nubian dairy goats and dream of having some in the future. Leah sort of inherited her goats and she doesn't milk them or anything. She takes good care of them, though, their coats are nice and glossy! 


She has a rustic country home. Her husband built the timber frame structure and made all the cabinets. He has a saw mill and does a lot of wood working. Leah loves to decorate with butterflies. She has a lot of pretty butterfly art.

Leah does a lot of research about natural remedies and healthy living. She makes her own fermented vegetables and preserves her garden produce. 

I have really enjoyed getting to know Leah and I hope you will, too!

Proverbs 27:17  Iron sharpeneth iron; so a man sharpeneth the countenance of his friend.


Tuesday, October 6, 2020

Finds This Week!

 Last Monday the children and I went for an early walk. Monday is Garbage Pick Up Day in our neighborhood. On a few occasions I have found quite decent treasures on the curb in the neighborhood where we live. One morning I found a box full of dishes; plates, bowls, and saucers. I liked some of them very much others were just okay. But, I kept all of the ceramic dishes because ours get broken frequently.

Some of my new dishes!


 Another day I was excited to pick up a cast iron skillet in perfectly good shape. 

A while ago I found a bread machine in very good condition with the manual and everything. It was sitting at the curb with a set of  4 upholstered dining chairs. I took the upholstery off of the chairs and am still waiting for an opportunity to recover them. The chairs are nice and sturdy.


Back to my story for this week,

I got the children dressed and put jackets on them. We took our wagon and went for a walk before the garbage truck came by. We went up and down 3 streets with no real success. I had only picked up a log that we could use in our open fire pit. I have had a fire a few nights recently. The weather has been just right for that sort of thing. 

At any rate, we were going down the 4th street on our way back home when we found a vacuum cleaner! It looked complete. It was really dirty looking on the inside, but it didn't look broken. I loaded it into the wagon and home we went.

"really dirty looking on the inside"


A few days later I cleaned it up. It was really quite nasty under the beater bar. But, after a little elbow grease with soap and water and an old tooth brush, I got it looking fairly nice.


Cleaning all the parts.

It works great! I am glad of that because my old vacuum was on it's last leg. You had to hold the handle just right to keep power running down to the head. The beater bar was always going on and off and on and off. My "new" vacuum makes the job much faster! What a great find!

My "new" vacuum!


We also went to a State Park this week and looked for neat rocks in the creek.


I found these two rocks that I thought were pretty unique.


This one makes me think of petrified wood.


And this one makes me think of reptile skin. I have never seen a rock like this. I am no geologist, though.


Have you found any treasurers scavenging or dumpster diving before? Tell me in the comments section!

Tuesday, September 29, 2020

Paw Paw Fruit!


Our Paw Paw harvest.
 

Paw Paw trees are native to North America. I have gathered from what I have read that they grow from New York to the Great Plains and as far South as Tennessee. Fun fact: Paw Paw's are the largest, tree fruit, native to the North American continent.

Paw Paw grove.


Paw Paw trees are not very large trees. They grow in the understory of forested areas. They grow in groves, from what I have seen. They are always grouped together.

Paw Paw leaves.


The Paw Paw tree has large leaves. They are similar in shape to Hickory tree leaves. The way to tell them apart is that Paw Paw leaves are smooth around the edges and Hickory leaves have a fine tooth, serrated edge.

Paw Paw fruit growing on a tree in July.


Paw Paw trees have to be 7 or 8 years old to bear fruit. Paw Paw trees have not been grown commercially because the fruits are too perishable to survive shipping. They are ripe for 2 or 3 days and past that point they spoil. The best way to preserve the fruit is to freeze the pulp.


I have only had the pleasure of tasting Paw Paw Fruit once, before this year. It was back when I was a teenager. This year I found a Paw Paw grove at a park close to where we live. I was very excited to be able to try Paw Paw's again! Paw Paw's ripen from August to September. Last week we went to gather some fruit.


Paw Paw's smell very tropical. Very similar to a fresh, ripe pineapple. The skin is green. Inside, the flesh is bright yellow. There are several large, bean shaped, seeds. The flesh is soft and scoop-able. The taste is quite sweet and a little bit like a mango and an American Persimmon.


I wanted to use our Paw Paw's in a recipe so I did some searching online. I tried this recipe for Paw Paw Ice Cream. The results were great. The Paw Paw flavor came through bright and clear.


Paw Paw Ice Cream

1 1/2 cups of Paw Paw fruit puree

2 cups milk

2 cups cream

1 scant cup sugar

5 egg yolks

1 1/2 tsp. Vanilla extract


In a sauce pan heat milk, cream, and sugar until it starts to steam. Temper the egg yolks with the hot cream. Pour tempered eggs into the sauce pan and heat until slightly thickened. Remove from heat. Add Paw Paw puree and vanilla extract. Chill and then freeze in ice cream maker. I didn't have an ice cream maker so I just put it in a bowl in the freezer and took in out to mix every 30 minutes, or there about, until in was frozen to the right consistency.


Have you heard of Paw Paw's before? Have you ever tried them? Let me known in the comment section!

Tuesday, September 22, 2020

Book Report: Sugar Nation: The Hidden Truth Behind America's Deadliest Habit And The Simple Way To Beat It by Jeff O'Connell


 This book is one that I am revisiting. I checked this book out from the library and read 2/3rds the way through it when I was 19. The information presented made so much of an impact on me that I quit eating sugar for 9 months. In the recent months I have been feeling the need to reform my diet. I know I have been over doing my carb intake. I thought it would be a good time to re-read Sugar Nation, and I was hoping it would have the same effect on me now, that it did 9 years ago. Of course, back then I had the determination of youth, a very gullible disposition, and a quite obsessive personality.  

Maybe some of that is still true today.......

Anyway,

I have just finished reading Sugar Nation: The Hidden Truth Behind America's Deadliest Habit and the Simple Way to Beat It by Jeff O'Connell. This is a book about diabetes. The author was diagnosed with prediabetes. His doctor offered him very little advice. Because Jeff O'Connell wanted to take care of his body and live a full, vibrant life he did his own research. He interviewed doctors, read books, analyzed studies, sorted through clinical reports, and did his own experiment on himself. He was able to find the cure for his condition through lifestyle changes.

Jeff O'Connell uses his own story as the background on which he draws the complex picture of diabetes development, diagnosis and care in the American medical system. When he talks about what diabetes does to the body you are left with a vivid impression and a feeling of urgency to take action before you loose your own health. 


The parts of the book that discussed the mindset of the medical institution were very motivational to me this time reading the book. A doctor can not make you take care of yourself. Doctors are primarily trained to prescribe medicine not nutrition. Once you are taking a prescription you very seldom with get off of it. I have had this experience. Reading Sugar Nation opened my eyes, anew, to the fact that I must do something to cure my condition and ditch my prescription.


There are a lot of studies referenced in this book. Parts of it are a little weighty if you find that sort of thing boring. Some of the events in his life seem a little shoehorned into the book, but I think they were supposed to break up the monotony that can come with statistics. Overall, I enjoyed this book and found it interesting. It is not too long; 265 pages excluding acknowledgements and notes. It discusses the seriousness of taking care of you health and also convinces you that you can succeed.

Tuesday, September 15, 2020

Send A Hug: Sloth Craft For Children


This is a simple craft that doesn't take any special equipment or make a mess. It is a cute way to send loved ones a hug through the mail. "Snail" mail is now "Sloth" mail. Heehee!  


I got this idea from the most recent issue of Highlights High Five magazine. This is how we made ours.

To make a template fold a piece of paper in half and draw a shape for the sloth. You can also make a template for the heart of you like. The other pieces are easy to freehand, so don't bother with making templates for them.


Use your template to trace the sloth shape onto paper. Also, draw out a face, claws for each paw, and a heart.


Cut out the shapes and color them.


Glue the pieces together.


Make sure the children get involved. :)


Fold the legs so that the sloth can sit up right. Ta da! Like I said, this project is really easy! 


Mail your sloths off to those people that you would like to hug, but are too far away to do so. I am sure your sloth hugs will brighten someone's day! :)